.png)
How to Create an AR Invoice
💡 An AR (accounts receivable) invoice is how you bill your client or insurer for work completed on a job. You can raise one from the project's AR Invoices screen or directly from an authorised estimate, and once it's generated you can sync it straight into your financial software.
Steps:
Open AR Invoices
- From the project screen, select AR Invoices from the left-hand menu.

- Along the top of the page, you'll see a list of every job in the project, with the amount currently invoiced and the total amount authorised for each.

Start a New Invoice
- Select New AR Invoice.

- Choose an option: From Authorised (references your authorised estimates), From Timesheet, or Custom Invoice.

Complete the invoice details
When you raise an invoice from an authorised scope:
- Choose whether this is a Progress invoice or a Final invoice. For a progress invoice, enter the percentage of the total you want to invoice in Percentage of Total — the estimate table updates to show the authorised value, what's previously been claimed, the balance to finish, and this claim's amount for each estimate.

-
Confirm who the invoice is addressed to under Invoice To, and add a Care Of if needed.
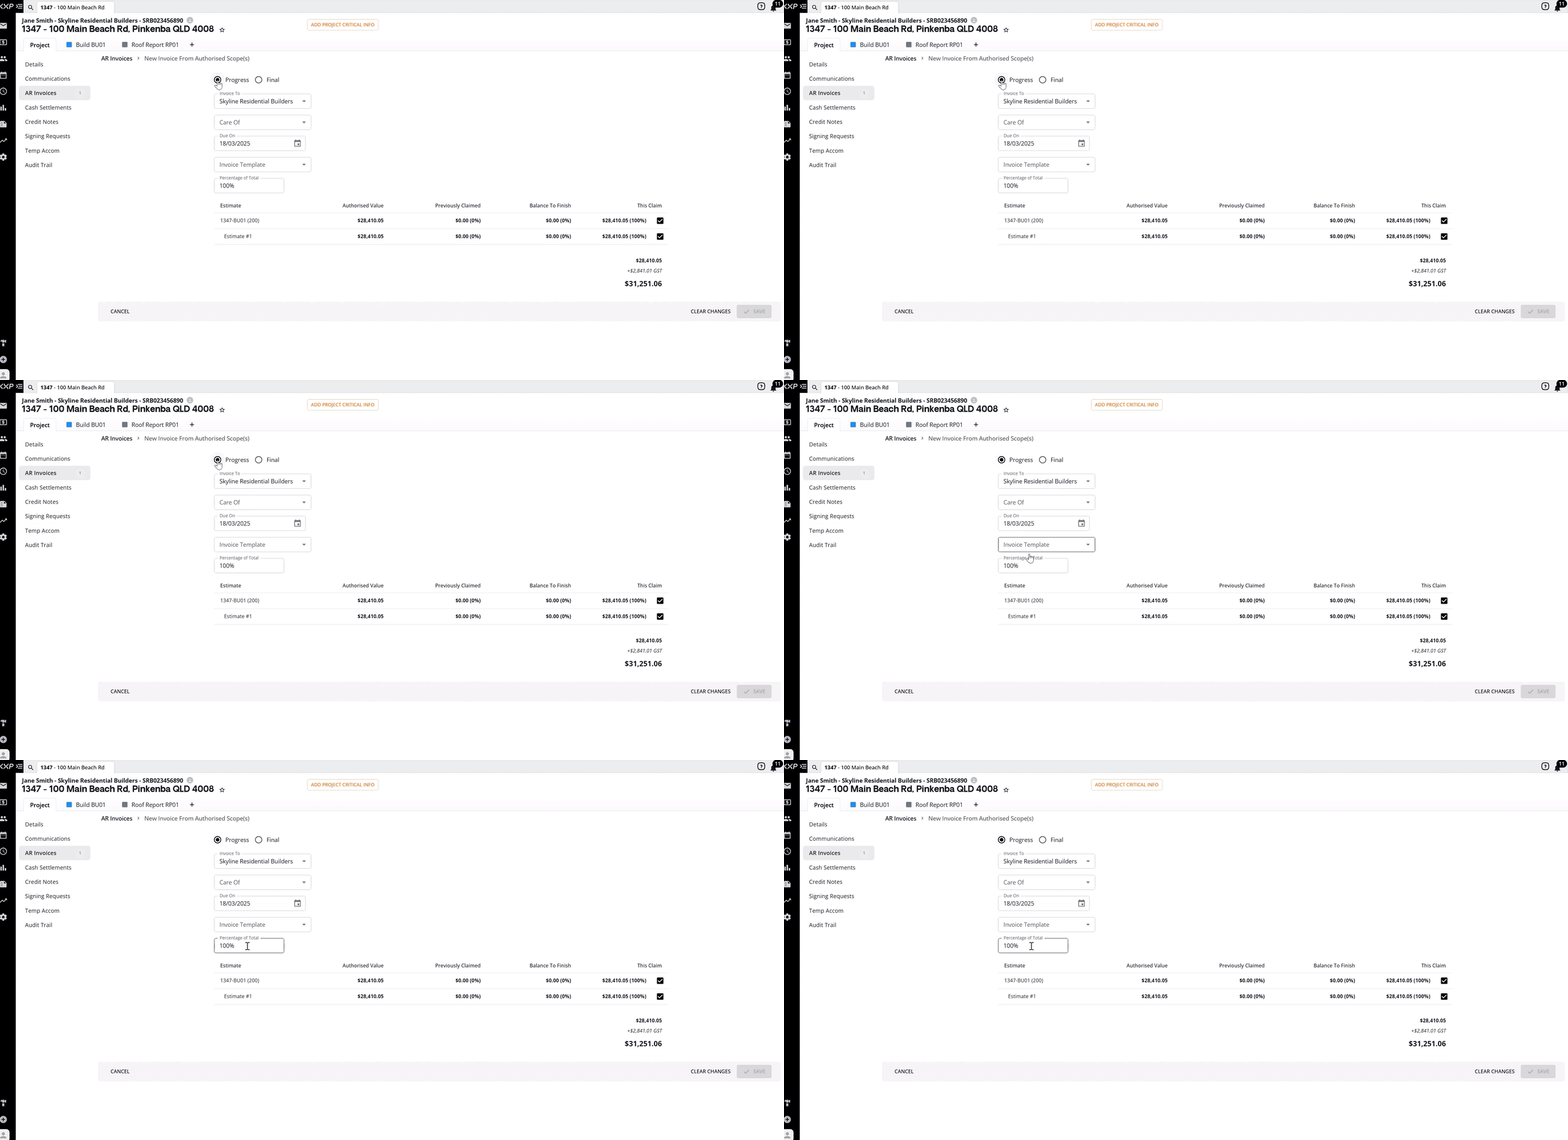
- Select the Due On date and the Invoice Template.

- Use the checkboxes to select the authorised estimate(s) you want to invoice.

- Select Save.

Review the generated invoice
- Loop generates the AR invoice, showing the invoice number, issue and due dates, account code, line items, and the sub total, GST, and invoice total.

- The invoice's status history (for example, Authorised and Submitted) and the generated PDF are listed on the same screen.
- From here you can Void Invoice if required.

- Otherwise, select Sync to Xero (or the equivalent button for your connected financial software) to publish the invoice directly into it.

Raise an invoice from the estimate screen
You can also generate an AR invoice without going through AR Invoices first:
- Open the job's Estimates screen and select the authorised estimate you want to invoice.

- Select Raise Invoice from the options at the bottom of the screen.

- Follow the same process as above to complete and save the invoice.

FAQ
What's the difference between a progress invoice and a final invoice? A progress invoice bills a percentage of the authorised total, useful for invoicing as work is completed in stages. A final invoice bills out the remaining balance once the job is complete.
What are the three ways to start a new AR invoice? From Authorised (references your authorised estimates), From Timesheet, or Custom Invoice, depending on what the invoice needs to be based on.
What happens when I select Sync to Xero? Loop publishes the AR invoice directly into your connected financial software, so it doesn't need to be re-entered manually.
Can I cancel an invoice after it's been generated? Yes, select Void Invoice from the generated invoice screen if it needs to be cancelled.
Do I have to raise the invoice from the AR Invoices screen? No, you can also raise one directly from an authorised estimate on the job's Estimates screen by selecting Raise Invoice, which follows the same steps.
❓ Need Help
If you have questions or need assistance, use the chat box in the bottom-right corner to contact the Loop Logics support team or email support@looplogics.com