
Module 1: Finance - Accounts Payable and Receivable
💡This article covers how to create and manage accounts payable (AP) invoices through to approval and payment, and how to raise an accounts receivable (AR) invoice for your client from an authorised estimate. Syncing both to your accounting software keeps Loop and your books matched.
Part 1: Accounts Payable (AP) Invoices
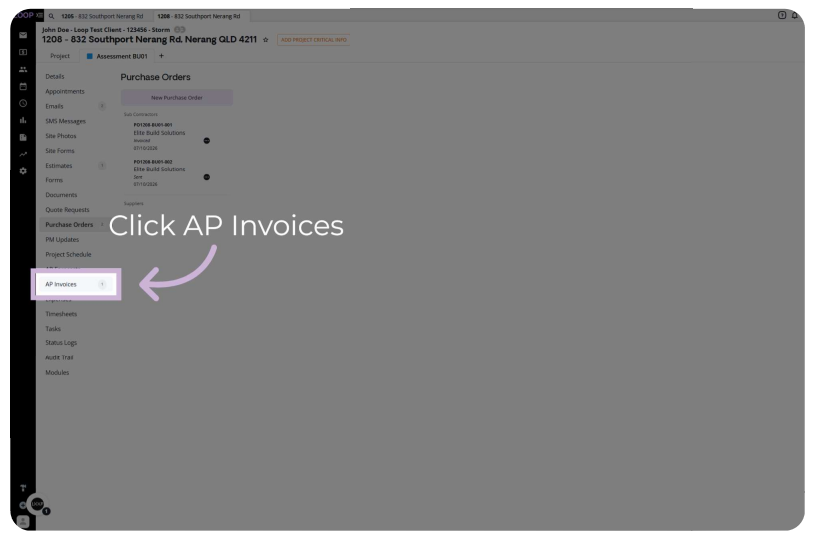
Step 1: Open AP Invoices
From the job module, click AP Invoices in the sidebar.
Details:
- This shows the accounts payable invoices for the job.
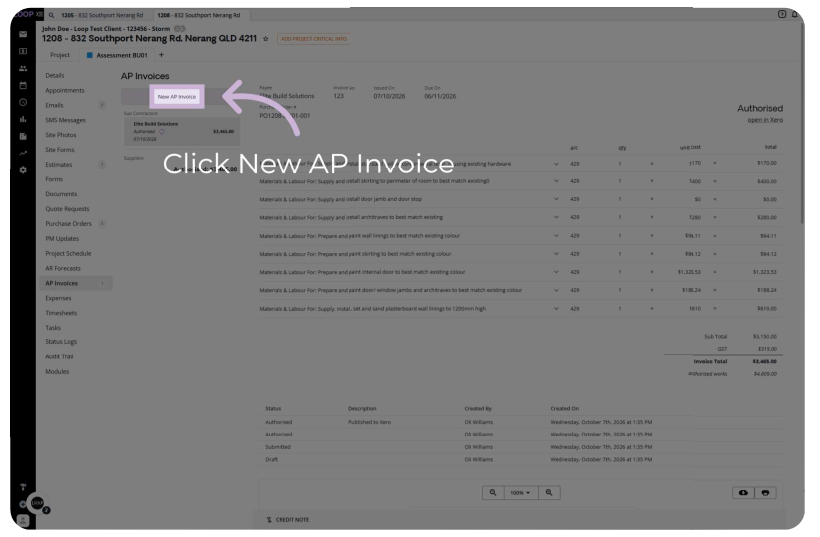
Step 2: Start a New AP Invoice
Click New AP Invoice.
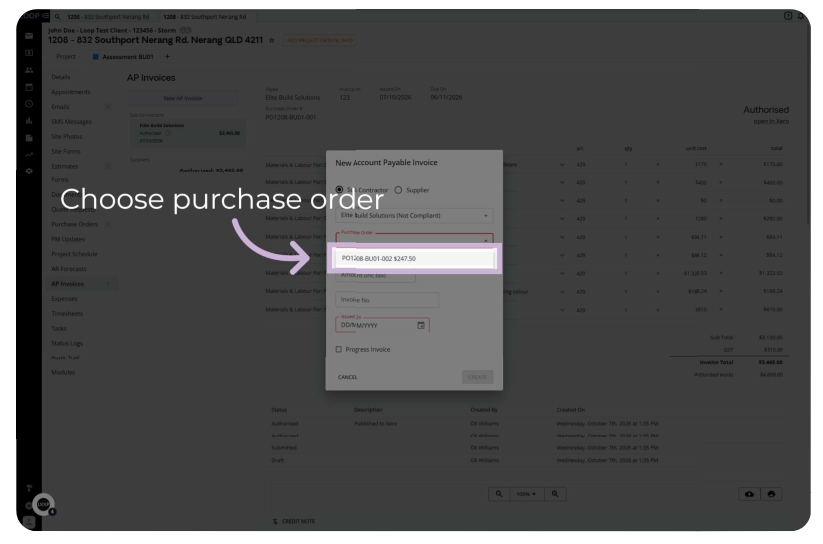
Step 3: Choose the Purchase Order
Click the Purchase Order dropdown and choose the purchase order this invoice relates to.
Details:
- Matching the invoice to a purchase order keeps the invoice tied to the work that was ordered.
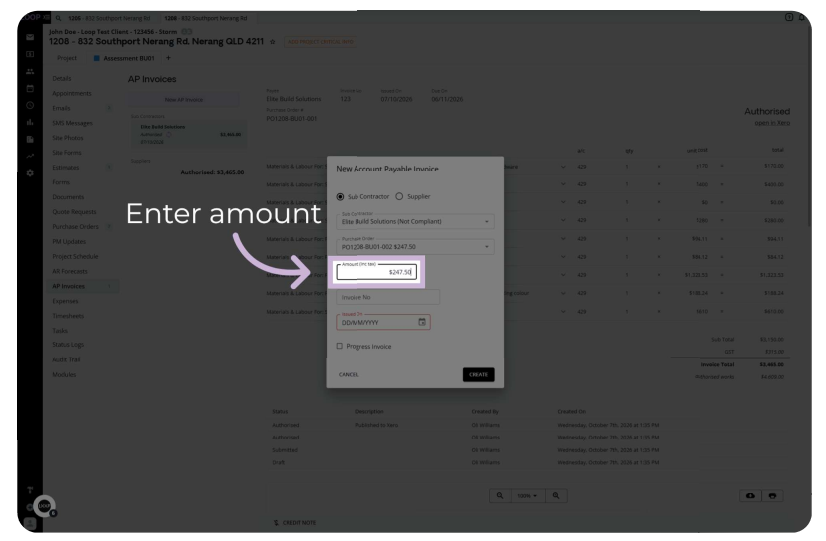
Step 4: Enter the Amount and Invoice Number
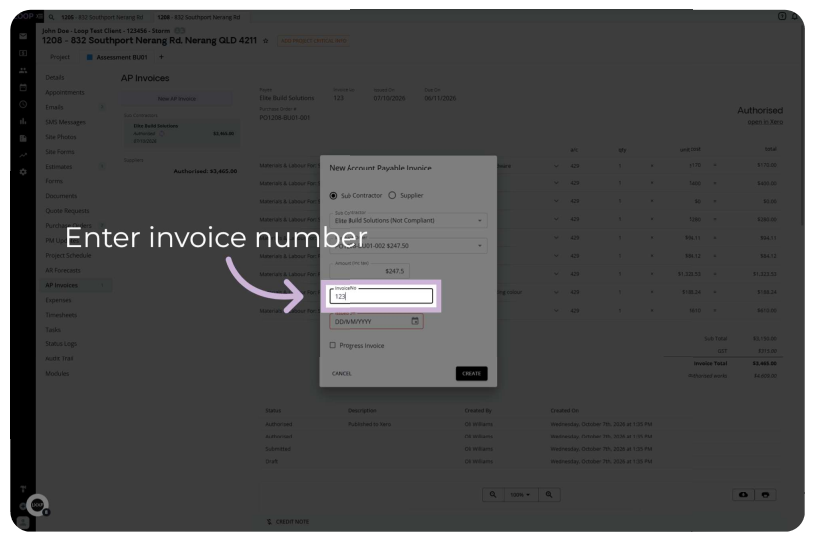
Click the Amount field and enter the total invoice amount including tax. Then click the Invoice No field and enter the invoice number for reference.
Step 5: Set the Issue Date
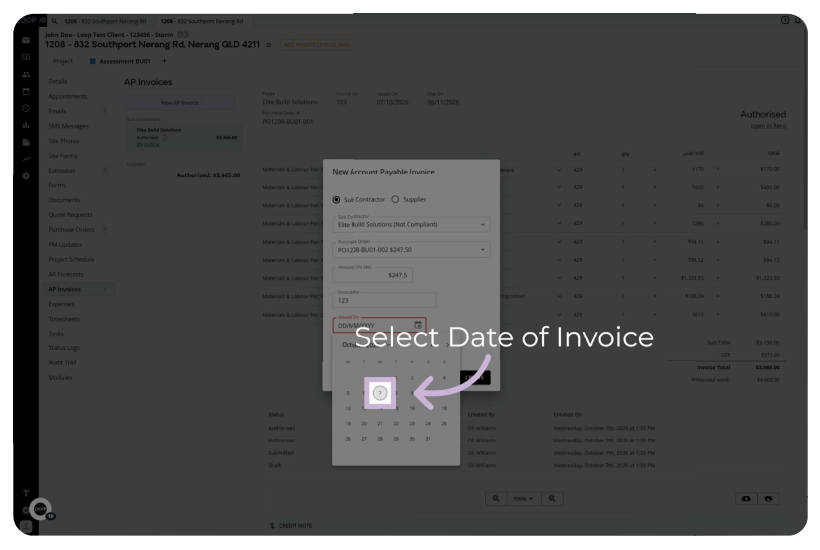
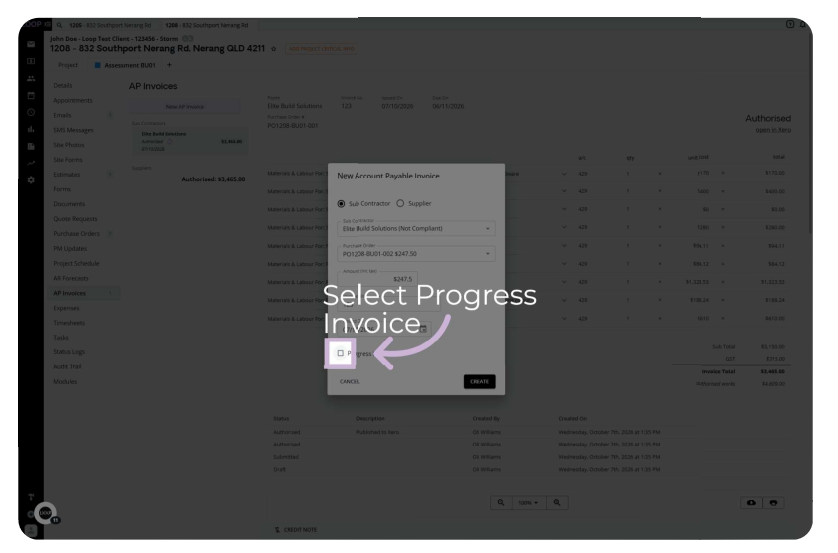
Click the Issued On field and choose the date of the invoice as received. If the invoice is part of a progress claim, tick Progress Invoice.
Step 6: Create the Invoice
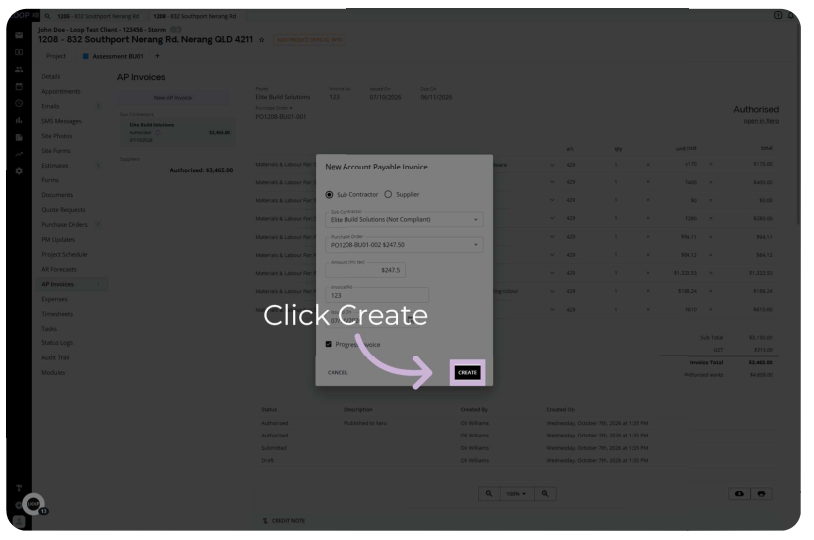
Click Create to save the new AP invoice.
Step 7: Upload the Invoice Document
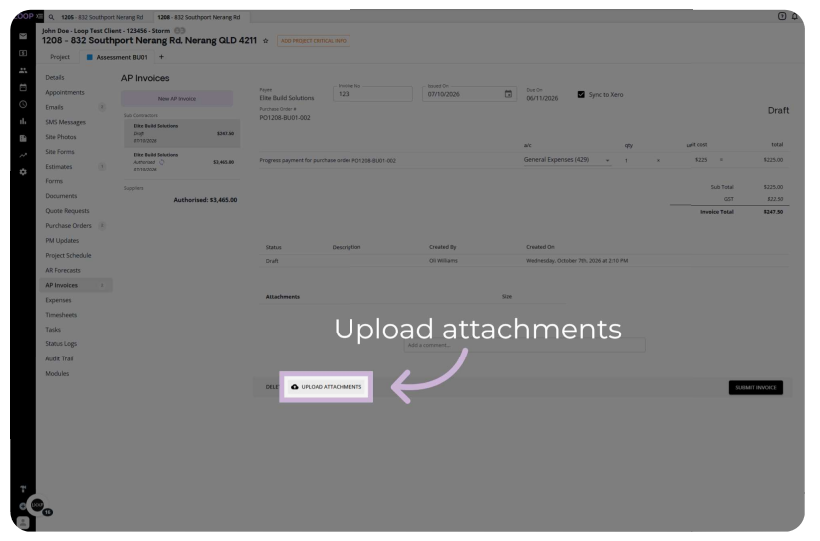
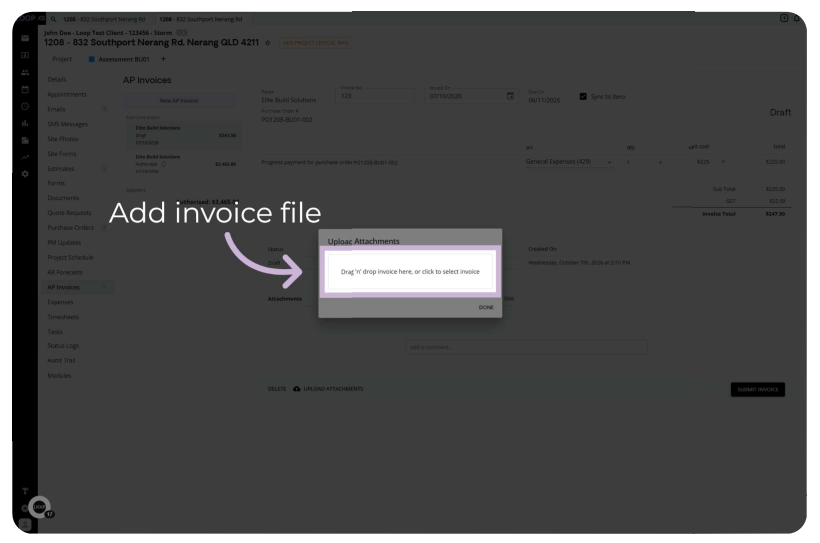
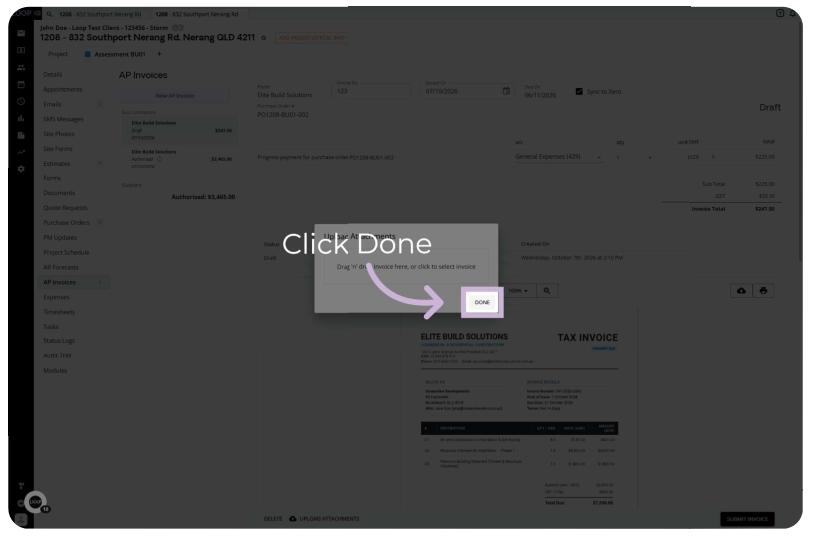
Click Upload Attachments, then drag and drop the PDF invoice into the upload area or click it to select a file. Click Done when the upload is complete.
Step 8: Submit the Invoice
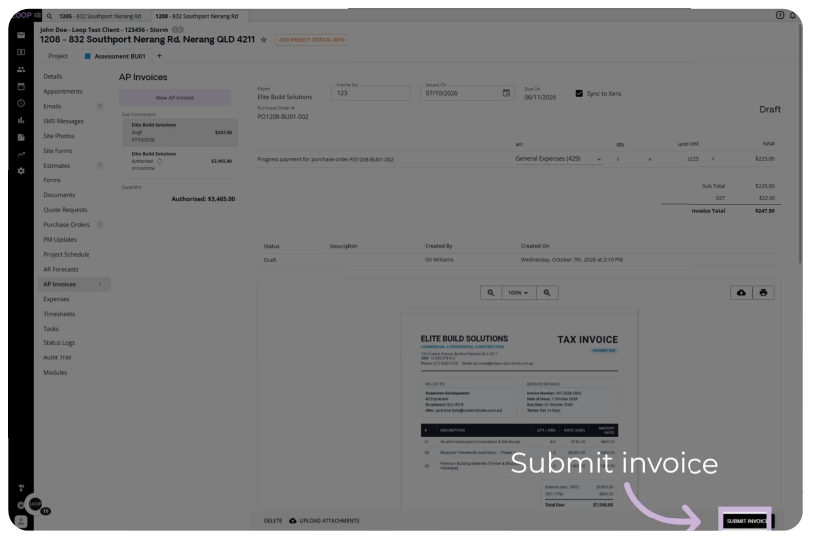
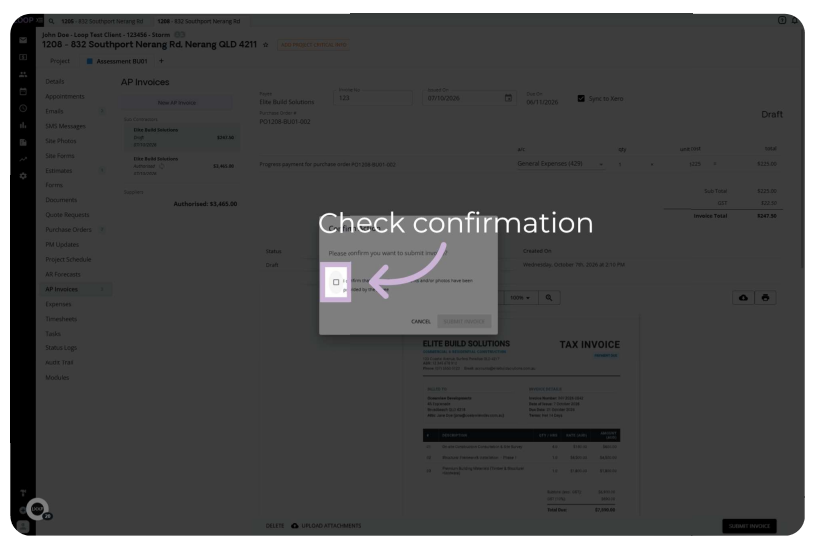
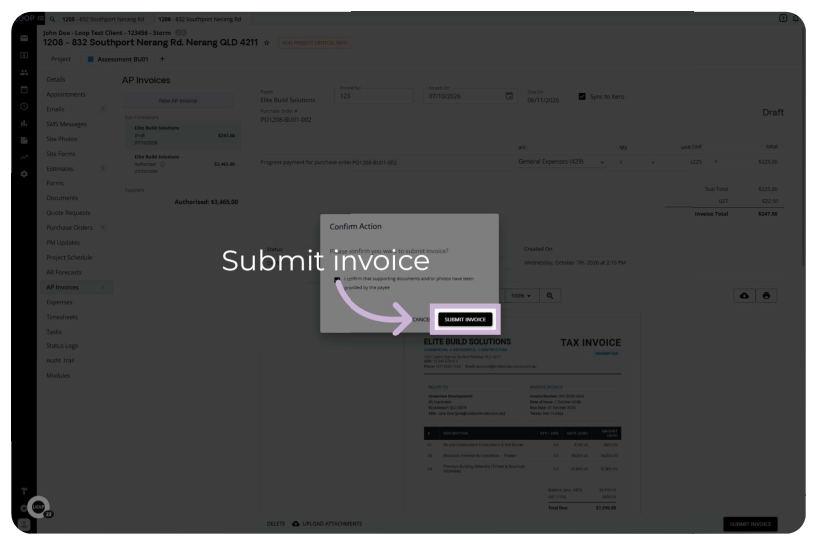
Click Submit Invoice to send the invoice for approval and processing. Tick the checkbox to confirm the submission details, then click Submit Invoice again to finalise.
Step 9: Authorise the Invoice
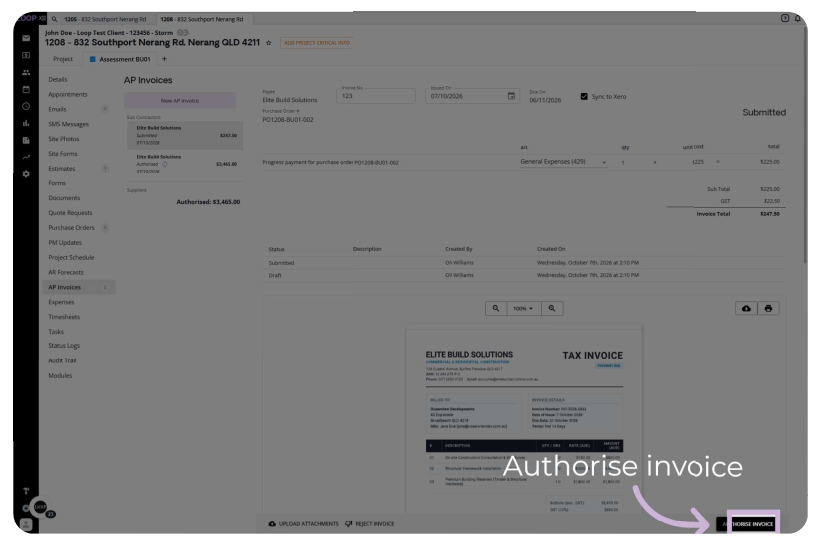
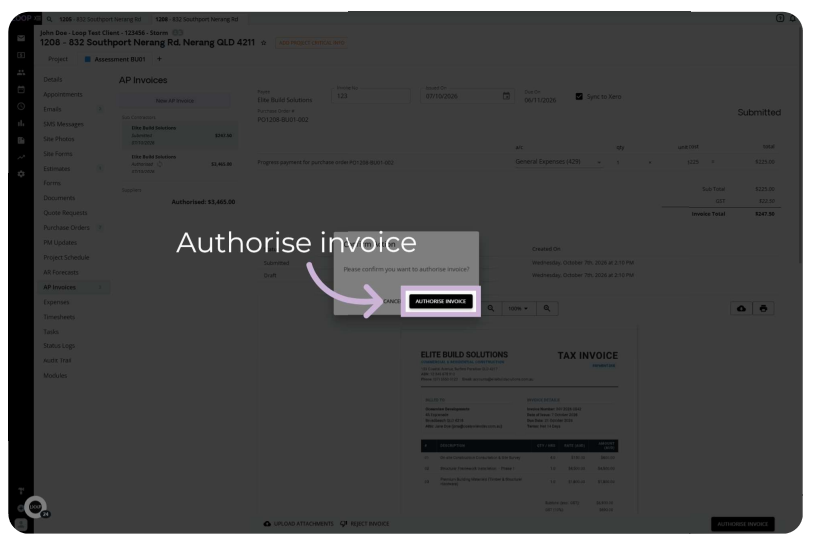
Click Authorise Invoice to approve the invoice for payment, then click Authorise Invoice once more to confirm.
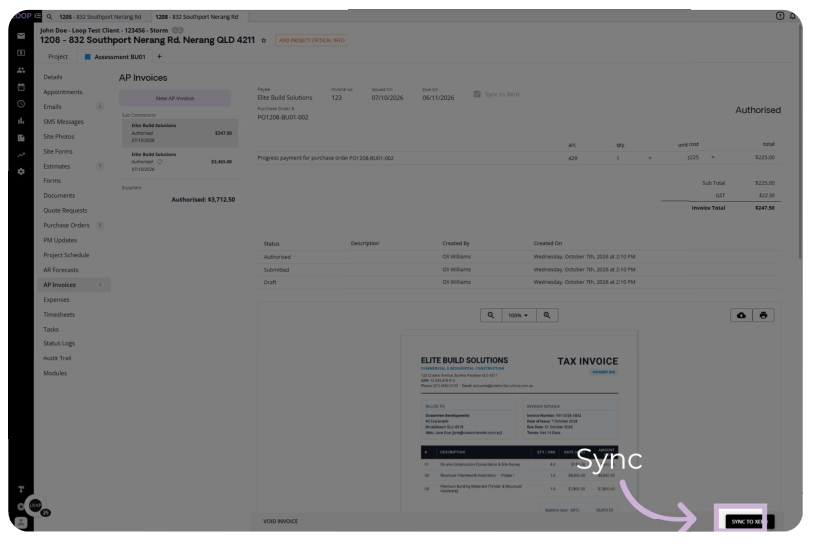
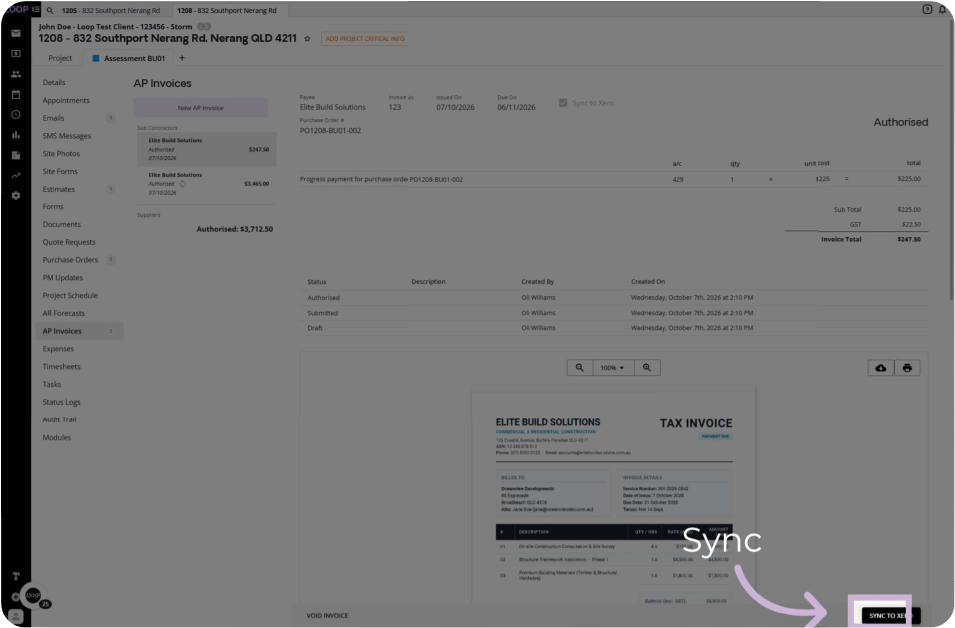
Step 10: Sync to Your Accounting Software
Click Sync to send the invoice data to your accounting software.
Details:
- The AP invoice is now authorised and ready for payment.
- When the invoice is reconciled in your accounting software, Loop updates automatically.
Part 2: Accounts Receivable (AR) Invoices
Step 11: Open AR Invoices
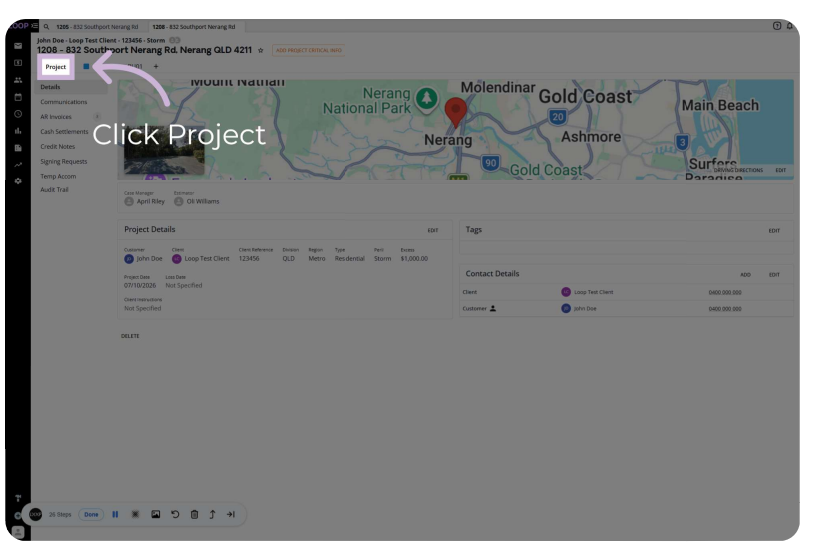
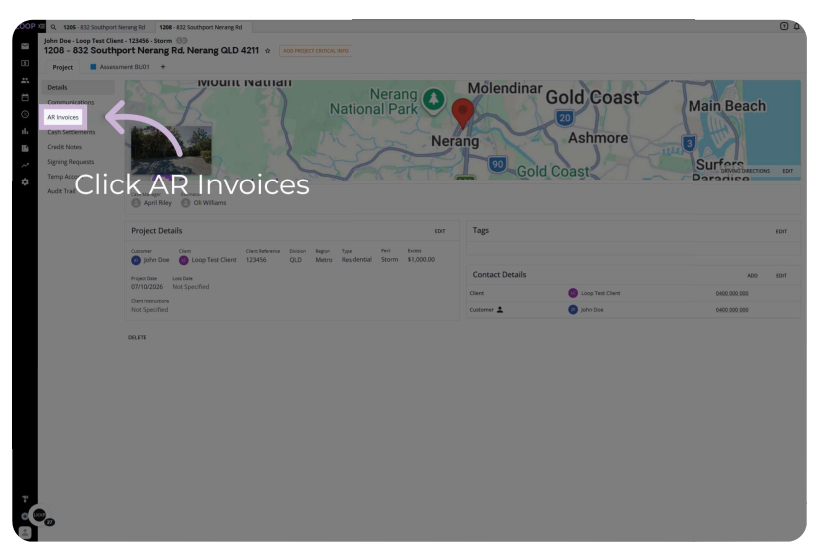
Click the Project tab to view project-level details, then click AR Invoices.
Step 12: Start an AR Invoice From the Authorised Estimate
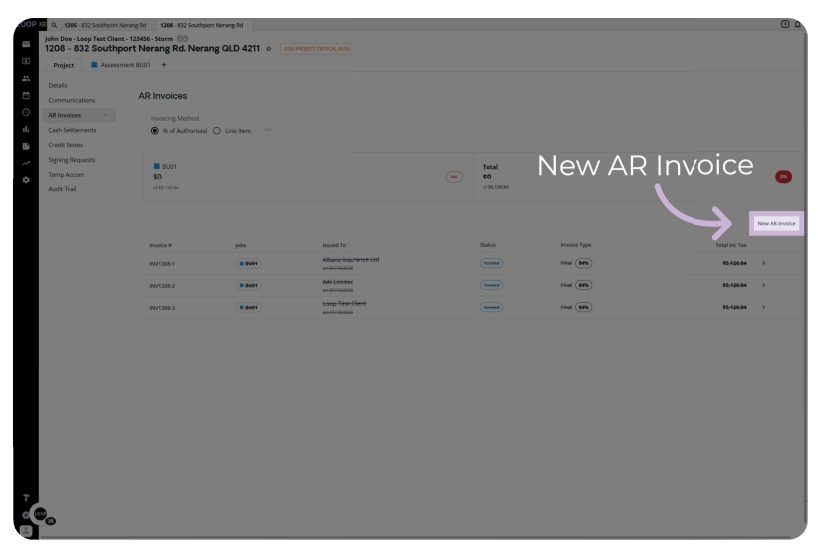
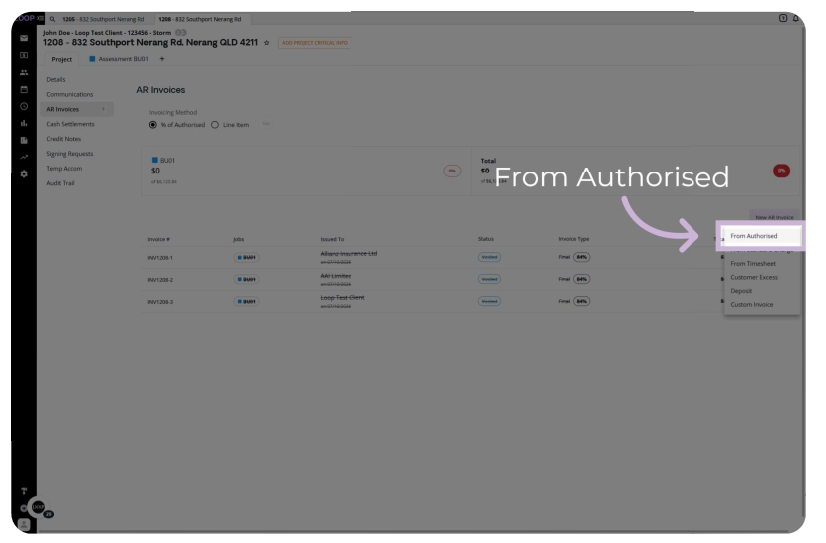
Click New AR Invoice, then click From Authorised to generate an invoice from the authorised estimate.
Details:
- You have multiple options to create an invoice: from the authorised estimate, from timesheets, a deposit, or a custom invoice.
- The menu on screen also lists Customer Excess, which is covered in the Managing Excess Guide.
Step 13: Choose the Invoice Type, Client and Template
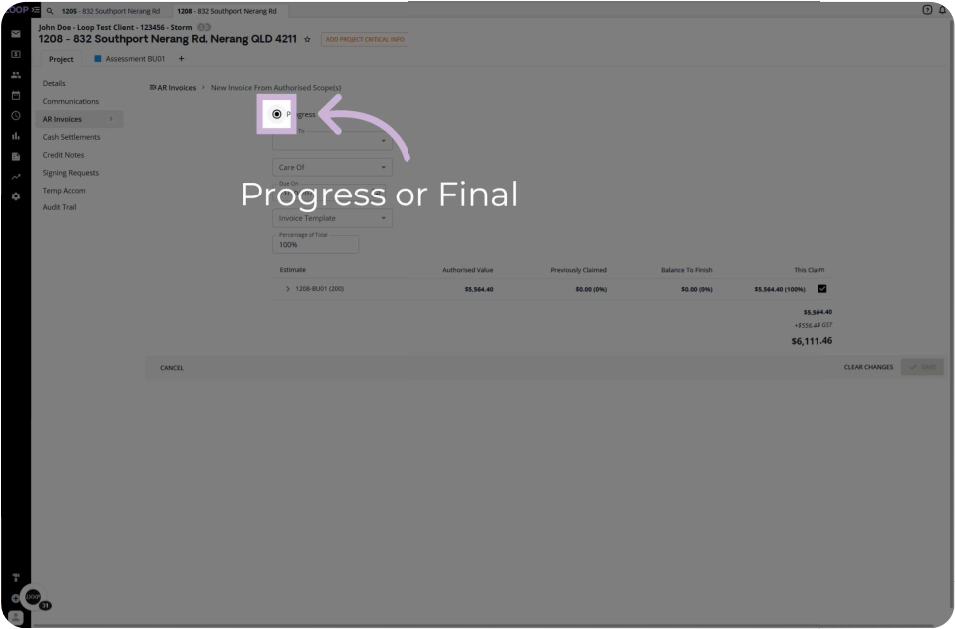
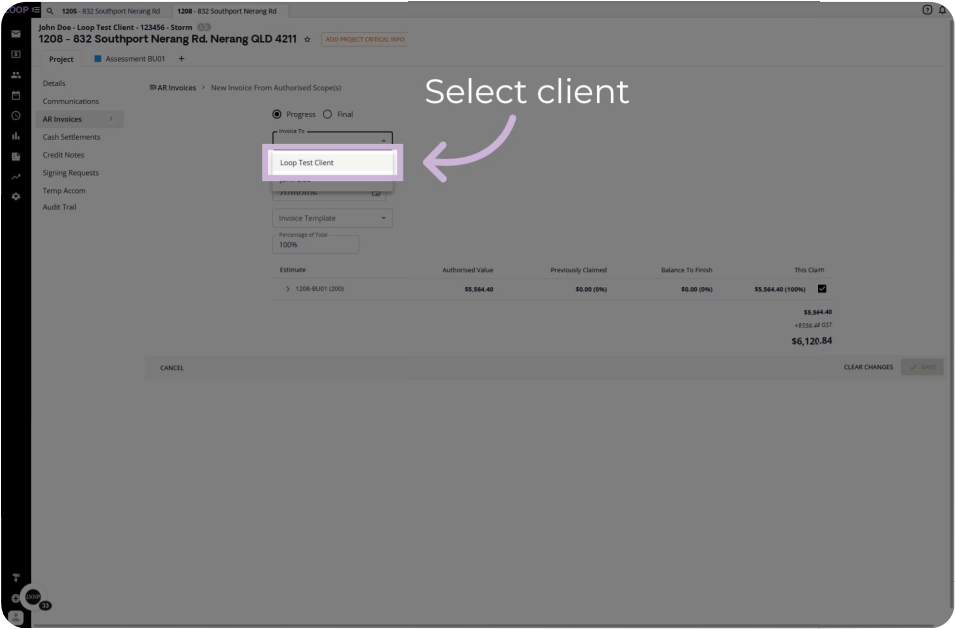
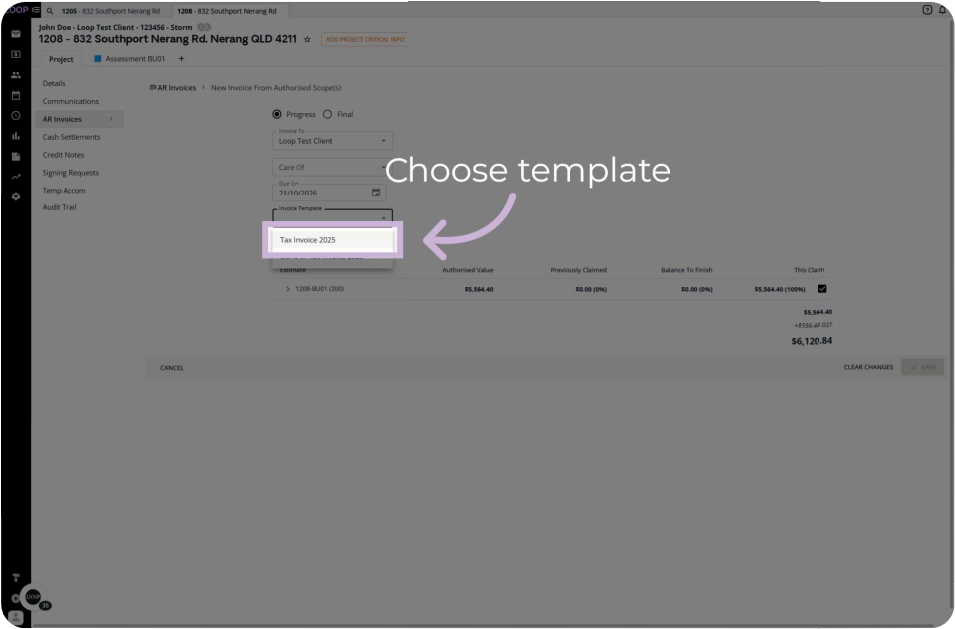
Select Progress or Final for the invoice type. Click the Invoice To dropdown and select the client, then click the Invoice Template dropdown and choose the template.
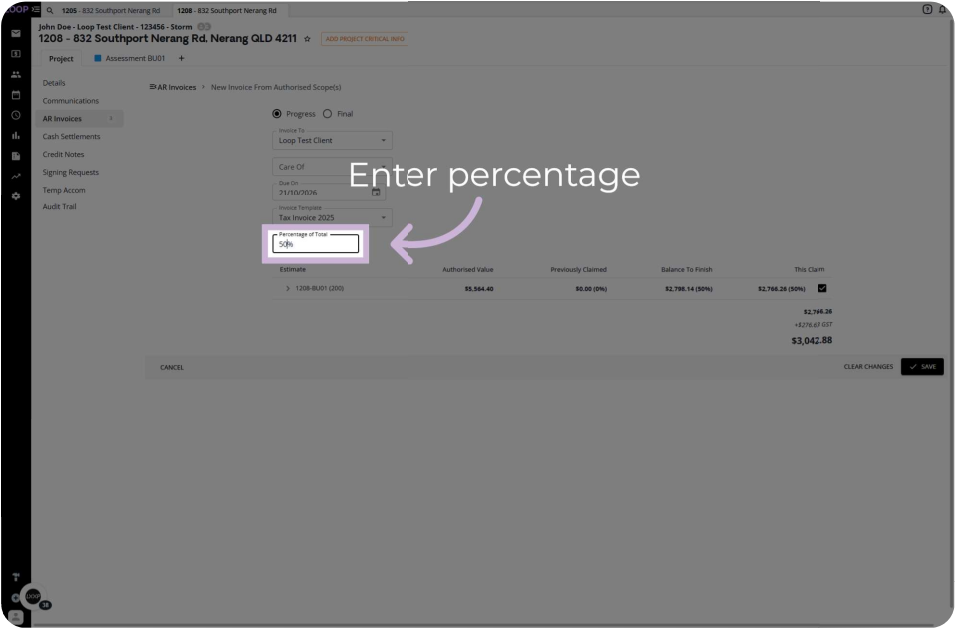
Step 14: Enter the Percentage for a Progress Invoice
If the invoice type is Progress, click the Percentage of Total field and enter the percentage to apply to the invoice.
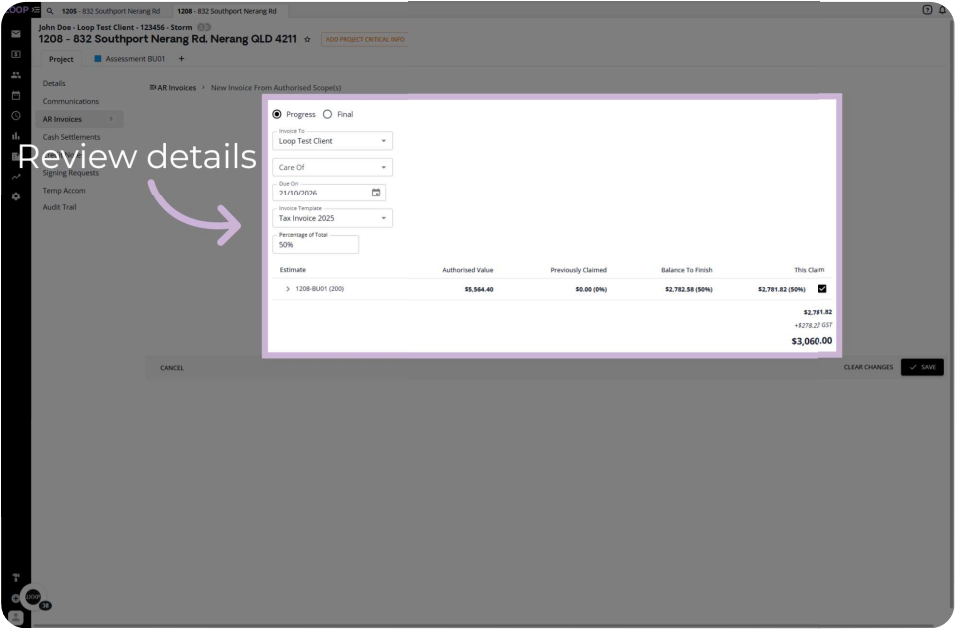
Step 15: Review and Save
Review the invoice details to check everything is correct, then click Save to store the AR invoice.
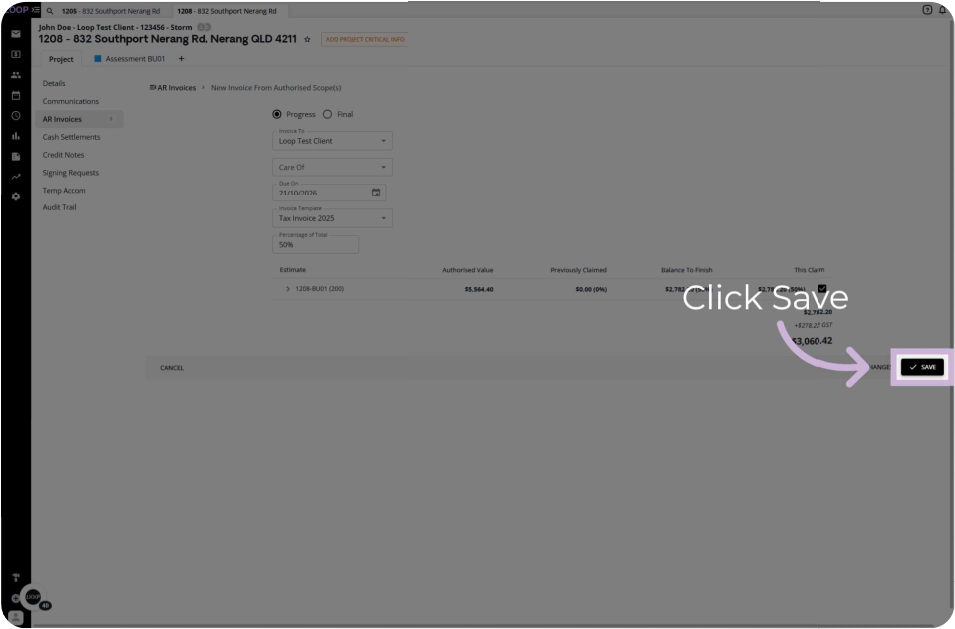
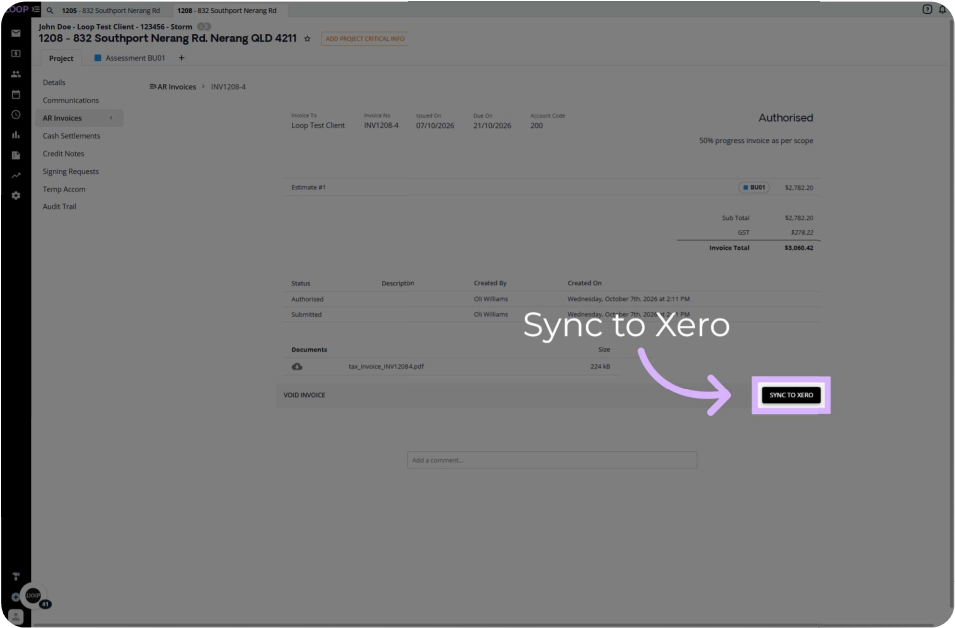
Step 16: Sync the AR Invoice
Click Sync to send the invoice to your accounting software.
Details:
- The invoice is now in your accounting software and available to download at the bottom of the screen.
- When it is reconciled in your accounting software, Loop updates automatically.
Summary
Key Accounts Payable and Receivable Steps:
Creating an AP Invoice:
- Open AP Invoices and click New AP Invoice
- Choose the purchase order, enter the amount (including tax) and invoice number
-
Set the issue date, tick Progress Invoice if it is part of a progress claim, then click Create
Submitting and Authorising It:
- Upload the PDF invoice and click Done
- Click Submit Invoice, confirm, and submit again
- Click Authorise Invoice and confirm
-
Click Sync
Raising an AR Invoice:
- Open the Project tab, then AR Invoices, then New AR Invoice and From Authorised
- Choose Progress or Final, the client and the template
- For a progress invoice, enter the percentage of total
-
Review, click Save, then click Sync
Key Points to Remember:
- Enter the AP invoice amount including tax
- Syncing sends the invoice to your accounting software, and reconciling there updates Loop automatically
👇Recap
- You've learned how to create an AP invoice against a purchase order and attach the invoice document.
- You've submitted and authorised an AP invoice and synced it to your accounting software.
- You've raised an AR invoice from an authorised estimate, as a progress or final invoice, and synced it.
🙅♂️Common mistakes to avoid: Entering the invoice amount without tax, or forgetting to tick Progress Invoice when the invoice is part of a progress claim.
🥇What good looks like: Every AP invoice matched to its purchase order, authorised and synced, and every AR invoice saved and synced to your accounting software.
FAQ
What happens after I click Sync? The invoice data is sent to your accounting software. When it is reconciled there, Loop updates automatically.
Where can I download the AR invoice? Once synced, the invoice is available to download at the bottom of the screen.
❓ Need Help?
If you have questions or need assistance, use the chat box in the bottom-right corner to contact the Loop Logics support team or email support@looplogics.com
👉 Continue your learning, next step is to move onto Module 2: Finance - Managing Excess to continue.