
Module 2: Supervisor - Estimates and Variations
💡This article covers how to lock, submit and authorise an estimate, then create a variation when the scope changes and ask the office team for a peer review. It keeps the quoted scope and any changes to it recorded against the job.
Step 1: Open the Job Module
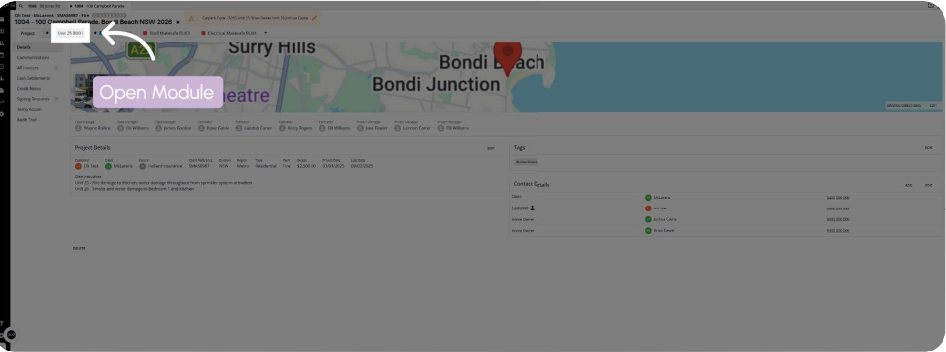
From the job, click the Module tab to open the job you want to work on.
Details:
- The job's sections are listed in the left-hand menu
Step 2: Open Estimates
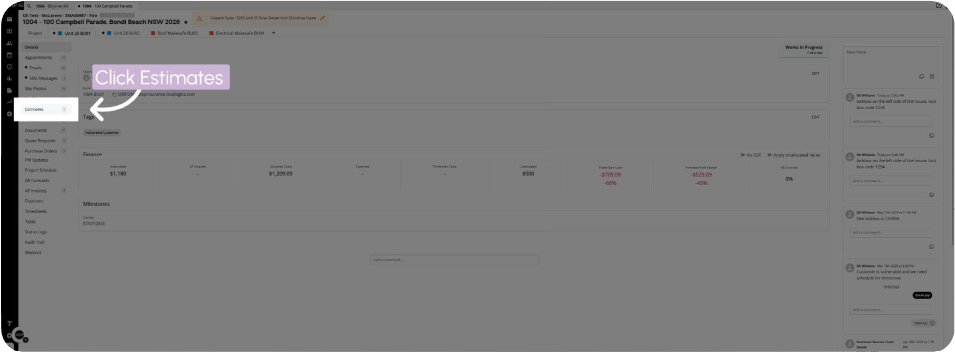
Click Estimates in the left-hand menu.
Details:
- The current estimate opens, with its scope items grouped under headings and Material and Labour columns beside them
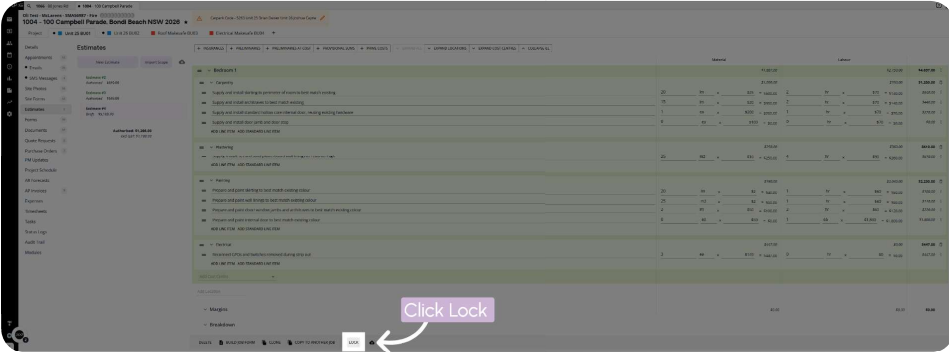
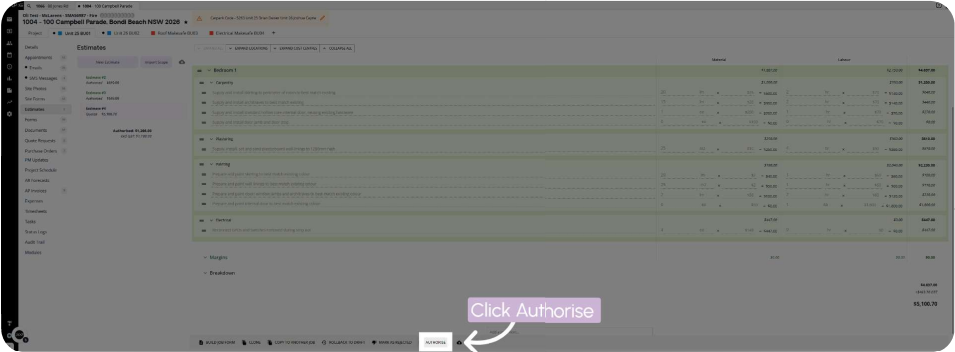
- The buttons to lock, submit and authorise sit along the bottom of the estimate
Step 3: Lock the Estimate
Click Lock to secure the current estimate and prevent further changes.
Details:
- Create a variation if the scope needs to change after the estimate is locked
- Unlocking isn't shown in this recording
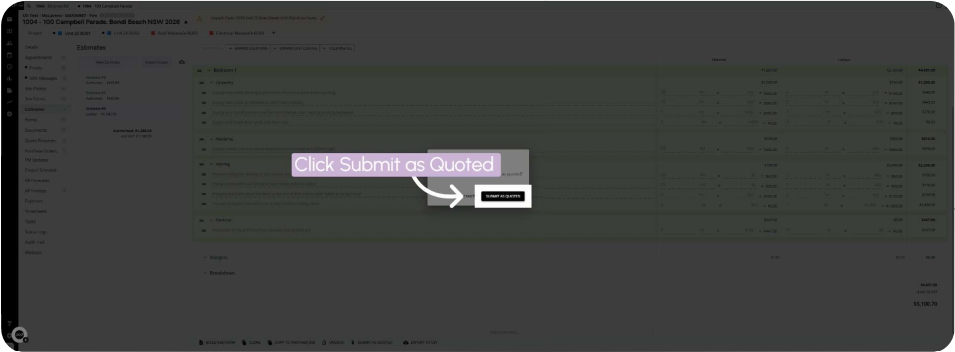
Step 4: Submit as Quoted
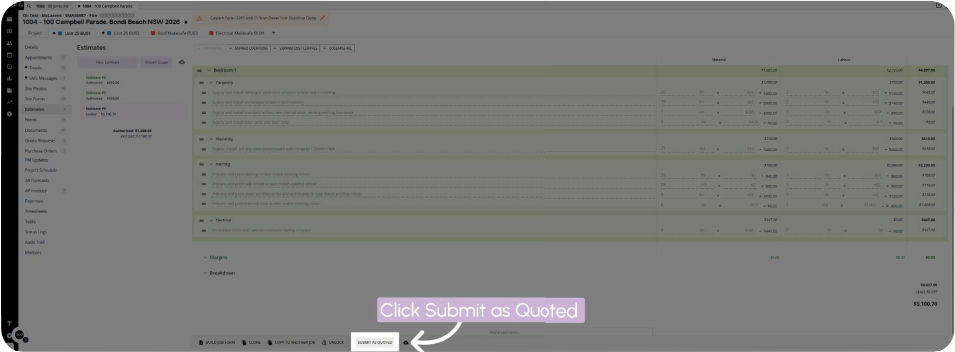
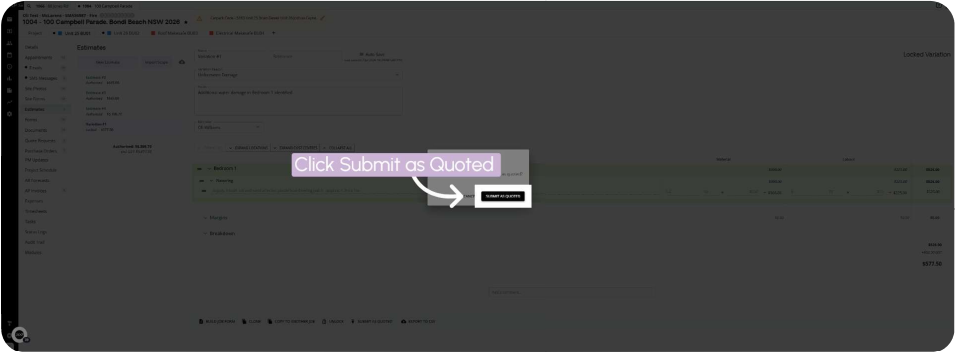
Click Submit as Quoted, then click Submit as Quoted again to confirm.
Details:
- A confirmation prompt appears in the middle of the screen
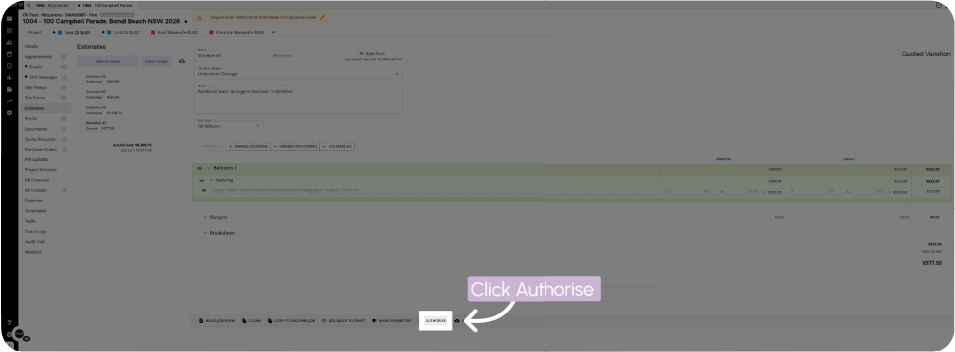
- Once the estimate is submitted, the Authorise option becomes available
Step 5: Authorise the Estimate
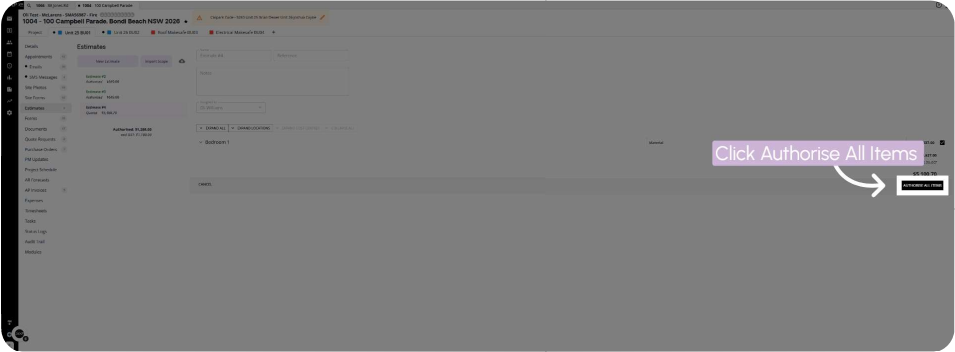
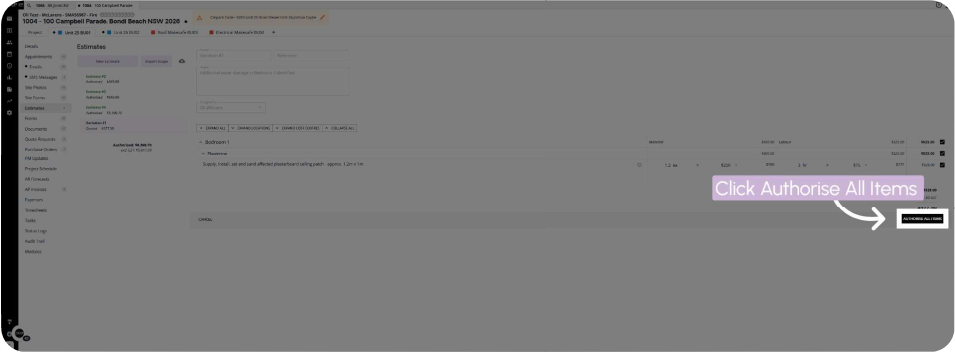
Click Authorise, then click Authorise All Items to approve every item in the estimate at once.
Details:
- The Authorise All Items button sits at the right of the screen
- You can instead select the items you want to authorise
- Authorised items are the ones available when you create a purchase order from scope
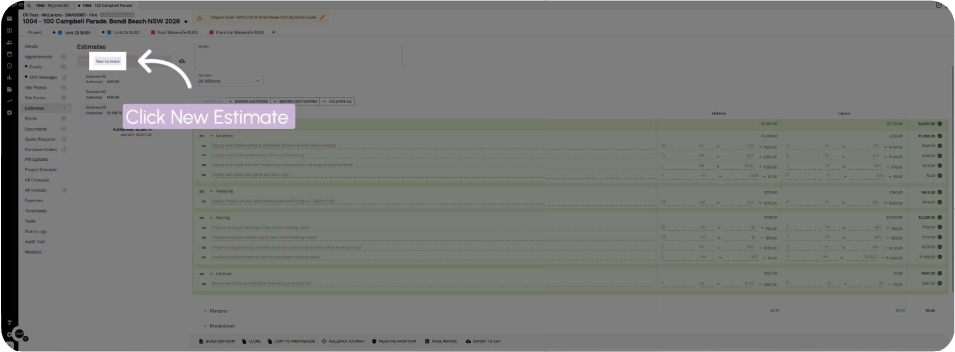
Step 6: Create a New Estimate
Click New Estimate in the Estimates section to start the variation.
Details:
- A menu of estimate types opens beside the estimate list
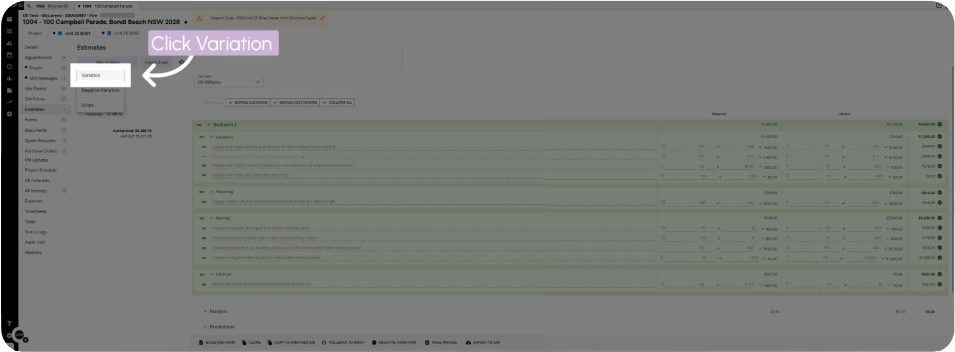
Step 7: Set It as a Variation
Click Variation to mark the new estimate as a variation.
Details:
- A new estimate opens in the list as a variation of the original
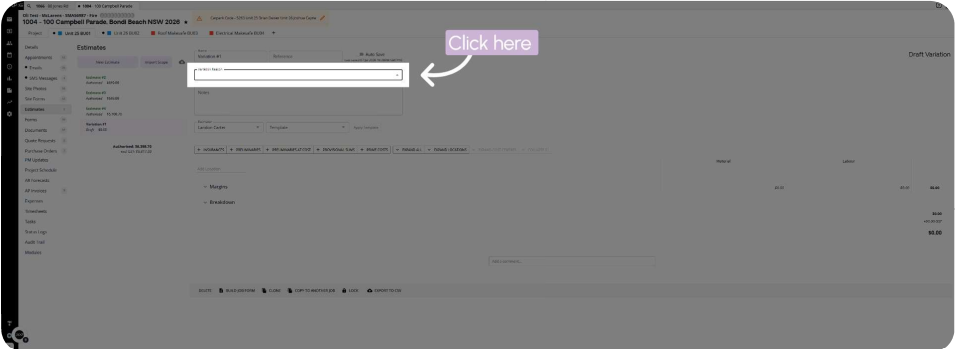
- A variation reason field appears at the top
Step 8: Choose the Variation Reason
Click the reason field and select the reason that fits the change.
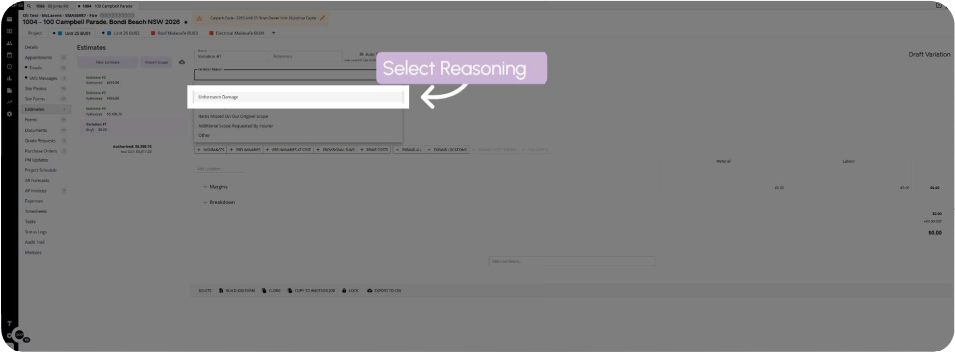
Details:
- A list of variation reasons drops down
- The reason categorises why the scope changed
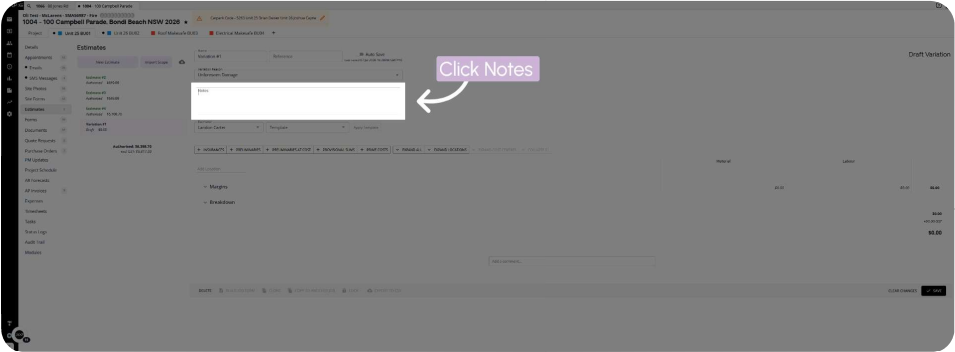
Step 9: Add Notes
Click Notes and add any extra information about the variation.
Details:
- Notes help the office team and client understand the change
Step 10: Add the Location and Cost Centre
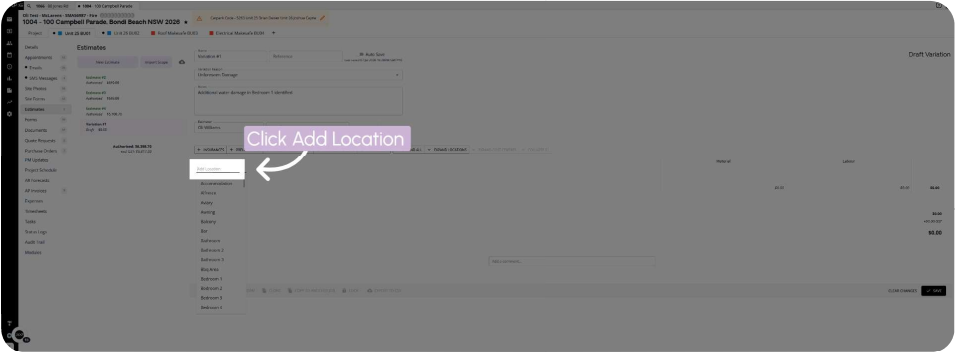
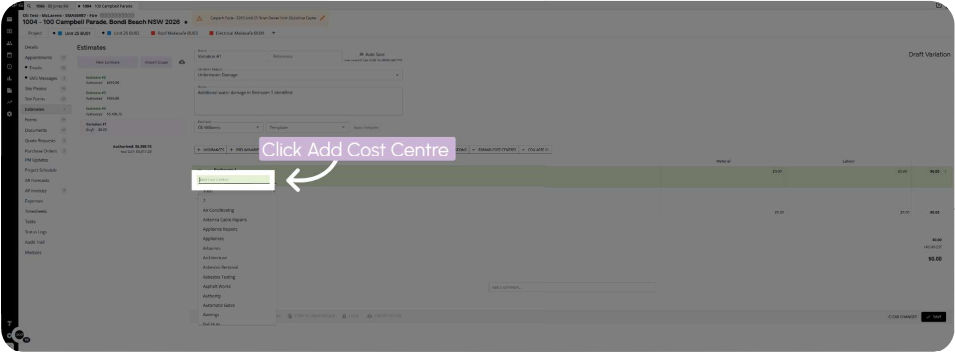
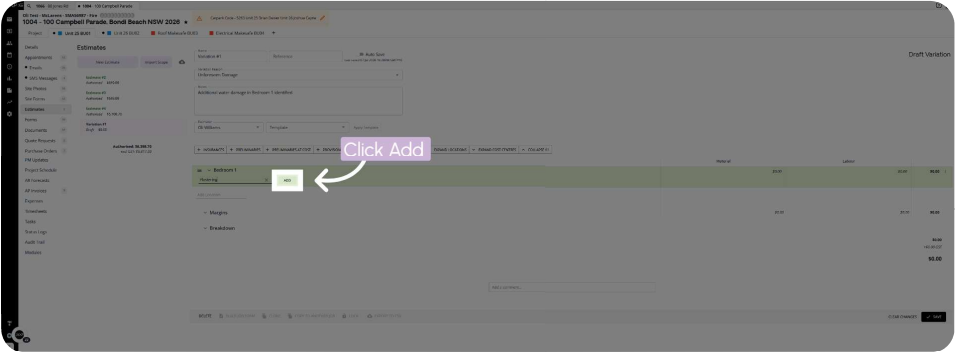
Click Add Location and choose the location, then click Add Cost Centre and choose the cost centre.
Details:
- A list of locations opens when you click Add Location
- Click Add to add the selected cost centre to the estimate
- The new line appears highlighted in green
Step 11: Enter the Item Details
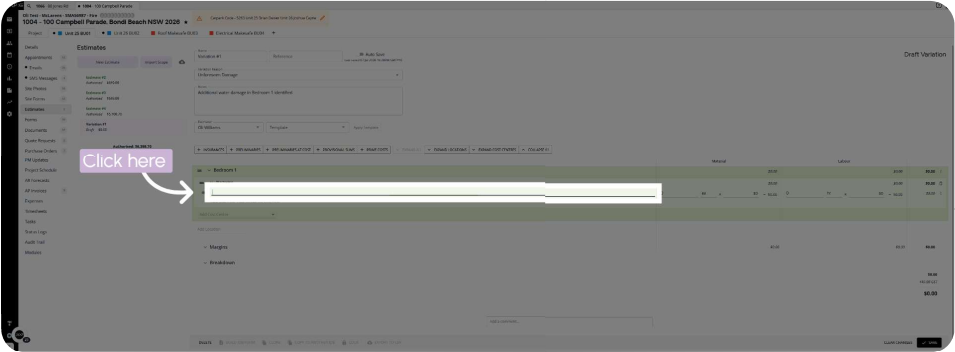
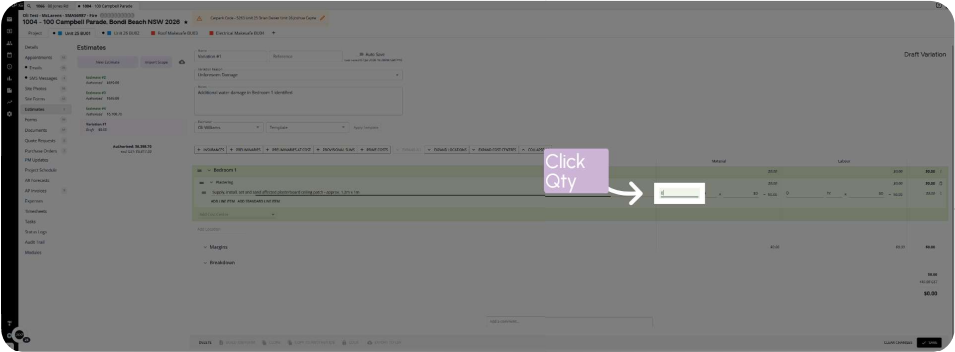
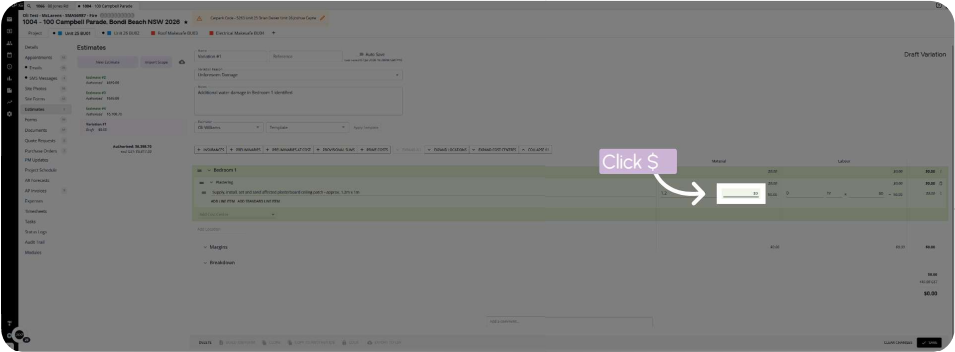
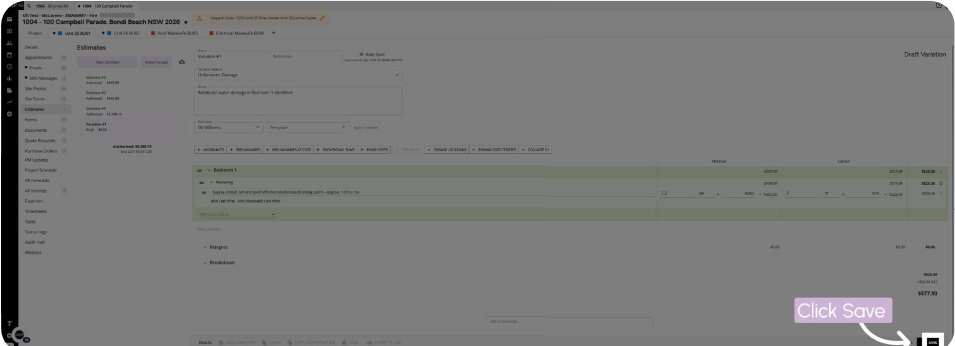
Click the description field and enter a description, then enter the quantity and unit cost, and click Save.
Details:
- The description explains the work being varied
- Click into the unit cost field to enter the dollar value
- Quantity and unit cost set the item value, and the totals update
Step 12: Submit and Authorise the Variation
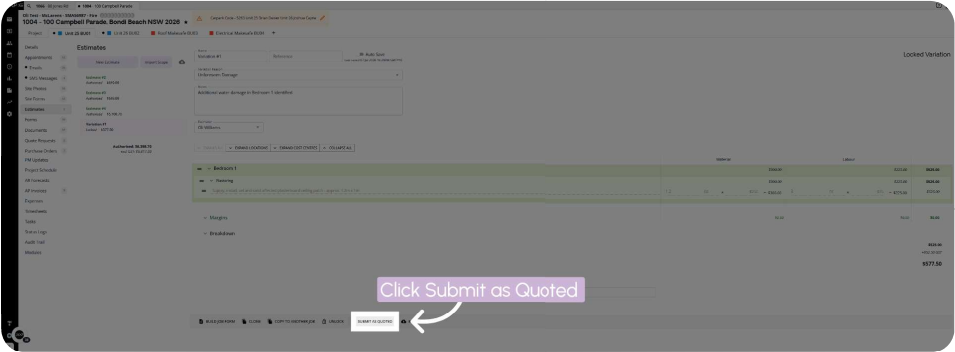
Click Submit as Quoted to submit the variation for approval, confirm, then click Authorise and Authorise All Items.
Details:
- Submitting works the same way as it did for the original estimate
- Authorising approves all items in the variation, and the variation is then complete
Step 13: Ask the Office to Review
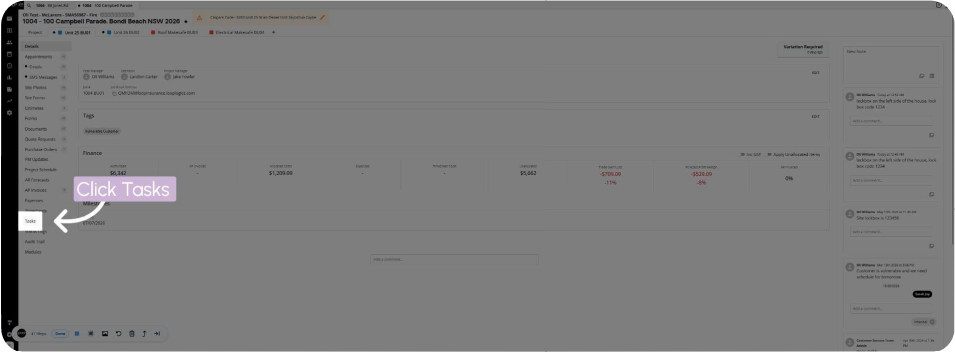
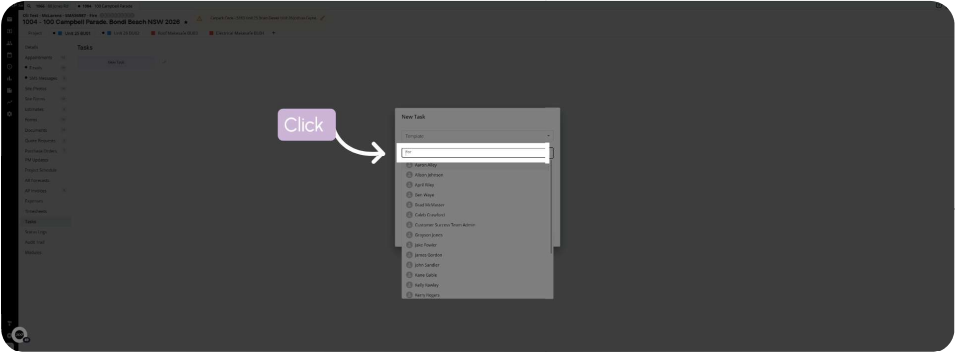
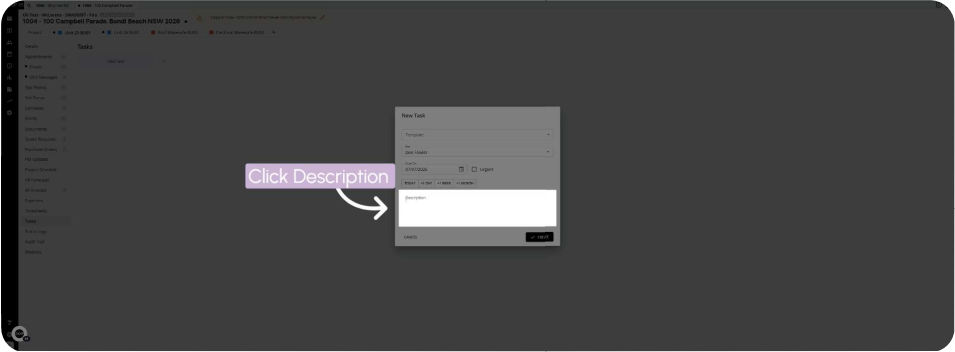
Click Tasks in the left-hand menu, select the user or team member, enter the review details in Description, then click Create.
Details:
- The Tasks section opens, with existing job activity shown on the right
- Create this task if the office team needs to peer review the variation before it goes to the client
- A new task window opens with a Description box for your details
Summary
Key Estimate and Variation Steps:
Authorising the Estimate:
- From the job, open Estimates
- Click Lock to secure the estimate
- Click Submit as Quoted and confirm
- Click Authorise, then Authorise All Items
Creating a Variation:
- Click New Estimate, then Variation
- Choose the variation reason and add notes
- Add the location and cost centre
- Enter the description, quantity and unit cost, then Save
Finishing the Variation:
- Click Submit as Quoted, confirm, then Authorise and Authorise All Items
- Create a task from Tasks if the office needs to peer review
Key Points to Remember:
- Lock the estimate to prevent further changes, then use a variation for scope changes
- Authorise All Items approves every item at once
- Add a reason, location and cost centre to each variation
👇Recap
- You've learned how to lock, submit and authorise an estimate
- You've created a variation with a reason, location, cost centre and item details
- You've asked the office team to peer review using a task
🙅♂️Common mistakes to avoid: Changing scope on a locked estimate. Create a variation instead.
🏆What good looks like: An authorised estimate, with every scope change recorded in an authorised variation and the office team asked to review where needed.
FAQ
What happens when I lock an estimate? It prevents further changes to the estimate, so use a variation if the scope needs to change.
Do I have to authorise every item? Authorise All Items approves every item at once, or you can select the items you want to authorise. This recording didn't show how to select individual items.
When do I create a task for the office? When the office team needs to peer review the variation before it is submitted to the client.
Can I unlock an estimate? This recording didn't show unlocking, so check with the Loop Logics support team.
❓ Need Help?
If you have questions or need assistance, use the chat box in the bottom-right corner to contact the Loop Logics support team or email support@looplogics.com
👉 Continue your learning, next step is to move onto Module 3: Project Supervisor - SMS Communication to continue.