.png)
How to Create a Word Template
💡Word templates let you build a Word document once with your own formatting, headings, and tables and have it automatically populated with job information using merge fields. You can create a Word template from scratch, import an existing Word document, and optionally link it to a site form so that a completed site form's answers are dropped straight into a table on the document.
Steps:
Open Word Templates
- Go to Admin, then under Jobs select Word Templates.

- Select NEW in the upper right corner.

Setup the template details
- Enter a Name for the Word template, a Document Title, and a Document Category.

- Add a Description if you'd like to include additional information.

- If needed, refine where this template is available by selecting specific Only For Divisions, Only For Users, or Only For Workflows.

- You can build Word templates for general documents or forms used in your day-to-day work, or you can link a Word template to a site form so its answers populate directly into the document.
Build or Import the Document
- Creating a Word template works much like creating a regular Word document — you can build it from scratch using the editor's tools.
- Alternatively, you can import a Word document you've already created: select Open in the top left corner, choose your document, and select Open to populate the editor with it.

- Make any edits, then select Save.

Insert merge fields (reference tags)
- If this Word template is linked to a site form (or other associated data), its reference tags appear in the Merge Fields panel on the left.

- Use the Filter box at the top of the panel to search for the reference tag you need.

- Click into the document where you'd like the content to appear, then select the reference tag from the list to insert it.


- Repeat this for each reference tag you want populated, you can customise the layout of the template however you'd like, as long as the reference tags are inserted somewhere in it.
-
Once generated, any reference tag placed in the template will populate with its corresponding answer.
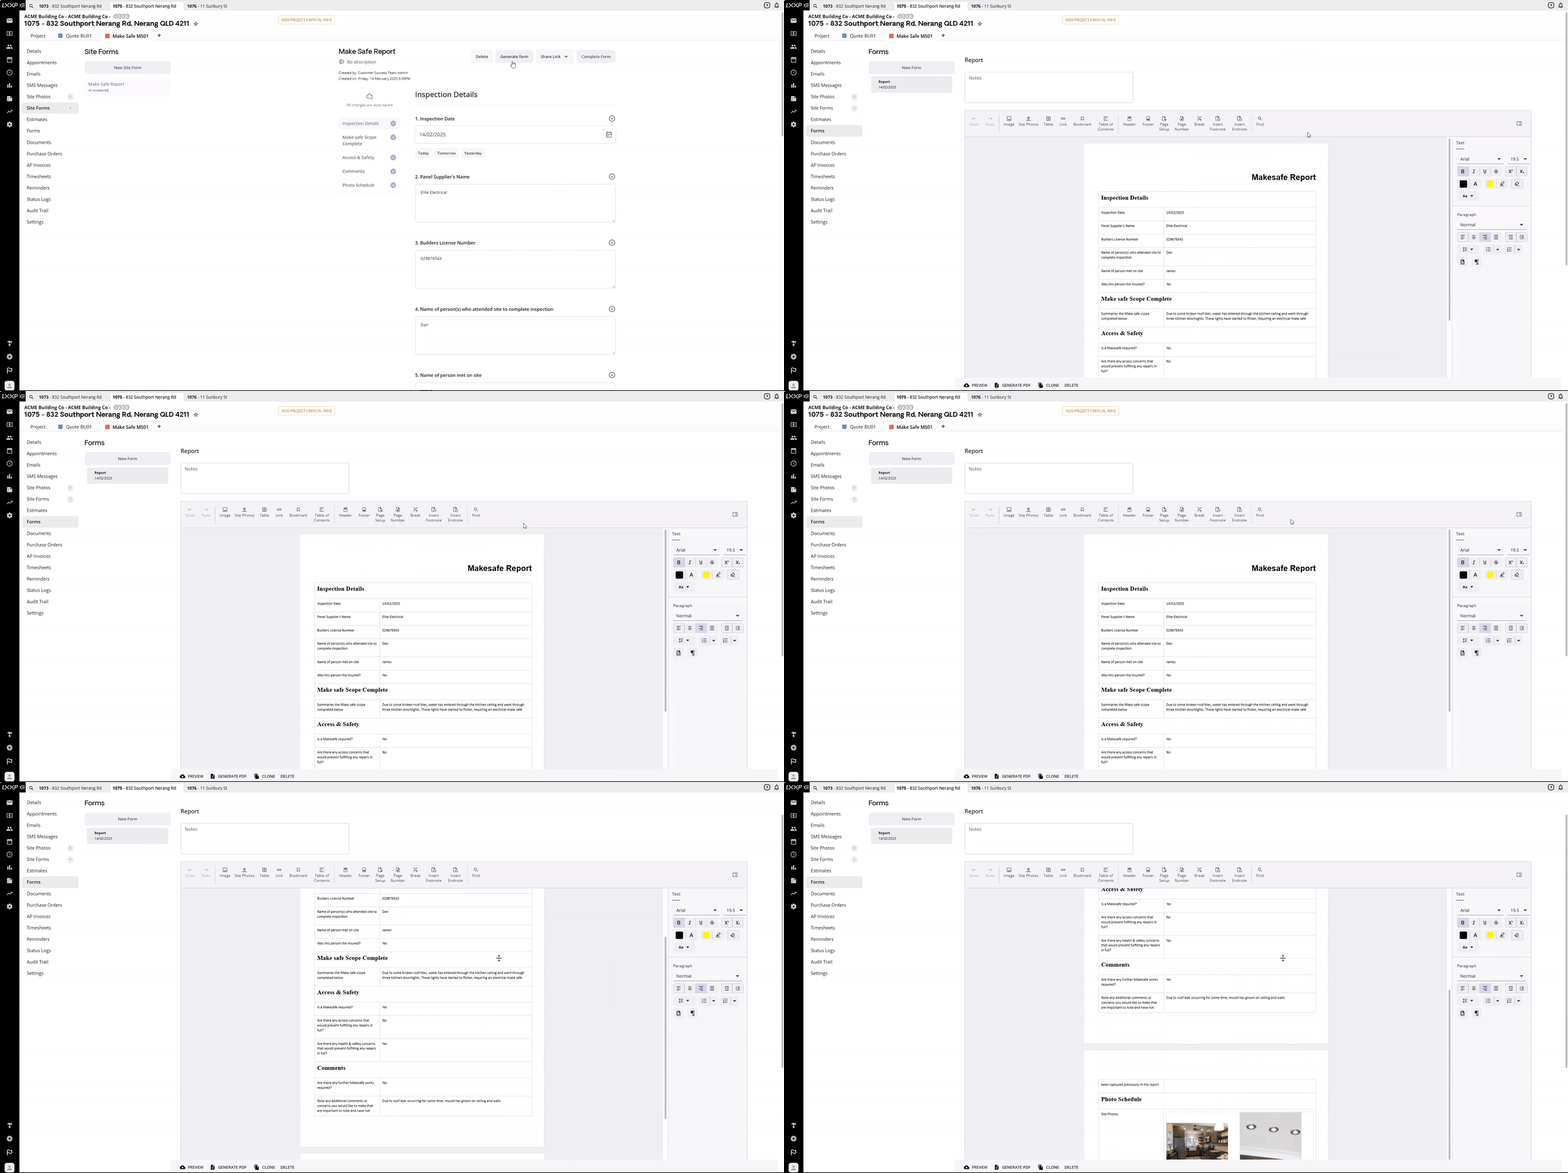
Use the simple site form table option
- If you don't want to build out the document field by field and prefer a simpler option, you can instead add a heading and any supporting information you'd like, then insert a single summary table.
- In the Merge Fields filter, search site to find the table::site-form reference tag ("Site Form questions and answers listed in table").

- Select Save.
- When the site form is generated, this single table automatically lists all the questions and answers entered on the site form that was just completed — no need to map each answer to its own reference tag.

FAQ
Do I need to import a document, or can I build one from scratch? Either works. You can build a Word template directly in the built-in editor, or import a Word document you've already created and edit it from there.
What does linking a Word template to a site form actually do? It makes that site form's questions available as reference tags in the Merge Fields panel, so you can insert individual answers anywhere in the document, or use the single table::site-form tag to drop in all of them at once as a table.
What's the difference between inserting individual reference tags and using the site form table? Individual reference tags (e.g. an answer to one specific question) give you full control over layout — you place each one exactly where you want it. The table::site-form tag is a quicker option: it inserts one table containing every question and answer from the site form, without any per-field setup.
Can I restrict a Word template to certain divisions, users, or workflows? Yes, use the Only For Divisions, Only For Users, and Only For Workflows fields when setting up the template.
When do the reference tags actually populate with data? Once the reference tags are inserted into the template and saved, they populate automatically when the report is generated from a job.
❓ Need Help
If you have questions or need assistance, use the chat box in the bottom-right corner to contact the Loop Logics support team or email support@looplogics.com