.png)
How to Upload Site Photos
💡Site Photos lets you upload and manage photos for a job directly in Loop Logics, then enable them for use across reports, purchase orders, and emails.
Uploading Site Photos
-
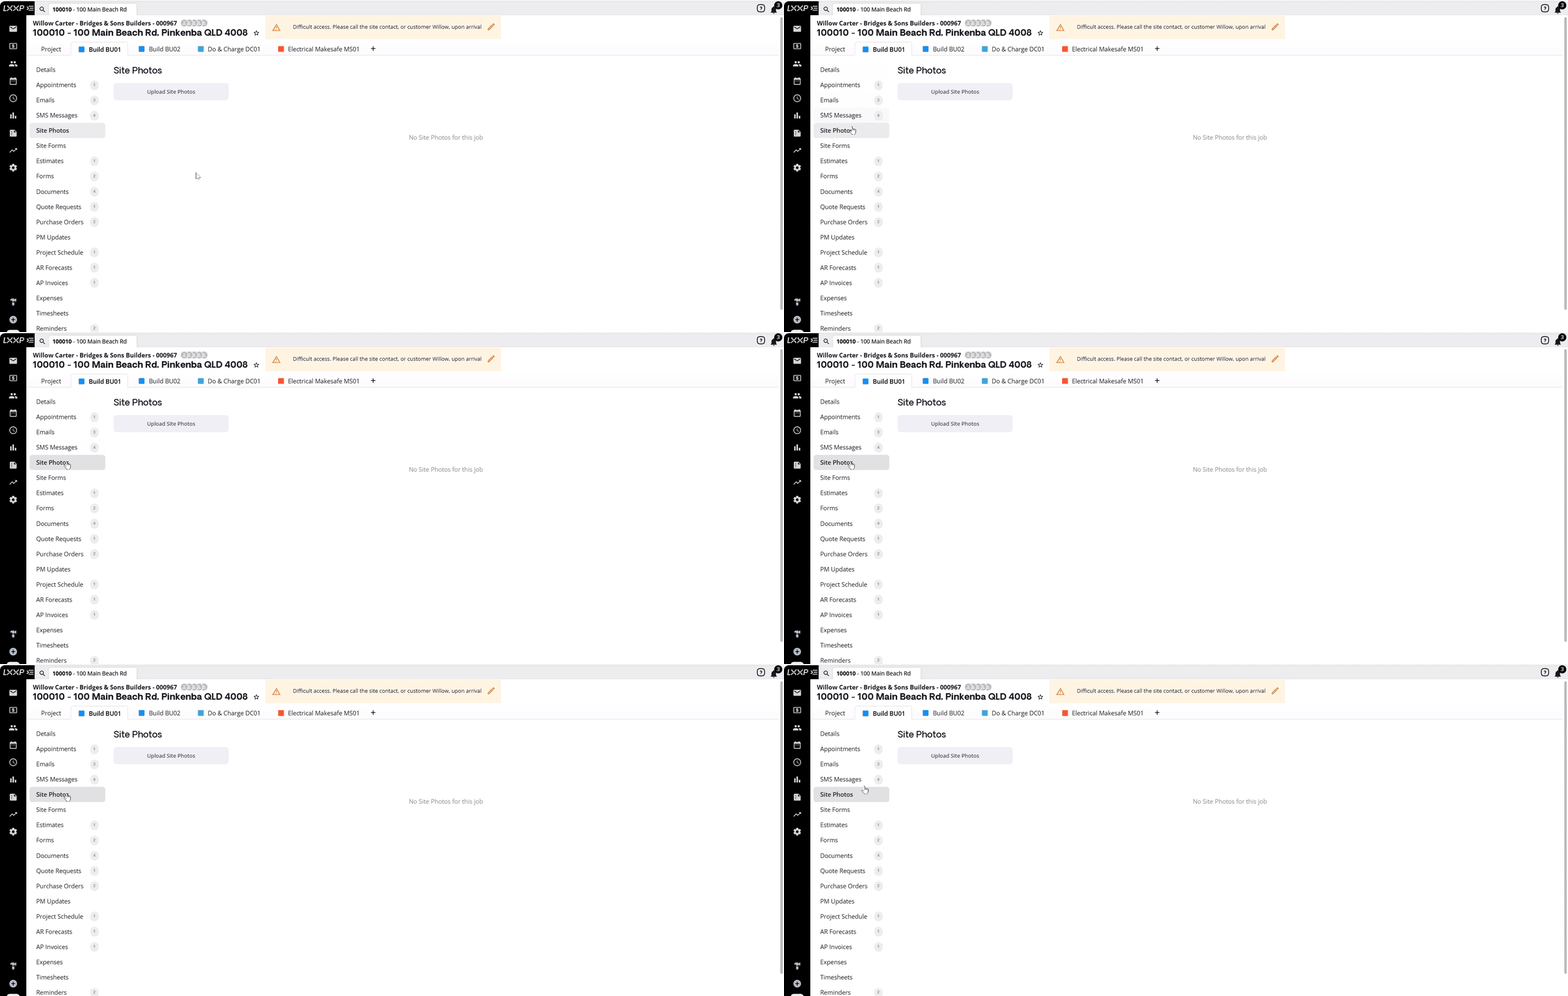
Navigate to the relevant job and select Site Photos from the left-hand side menu.
-
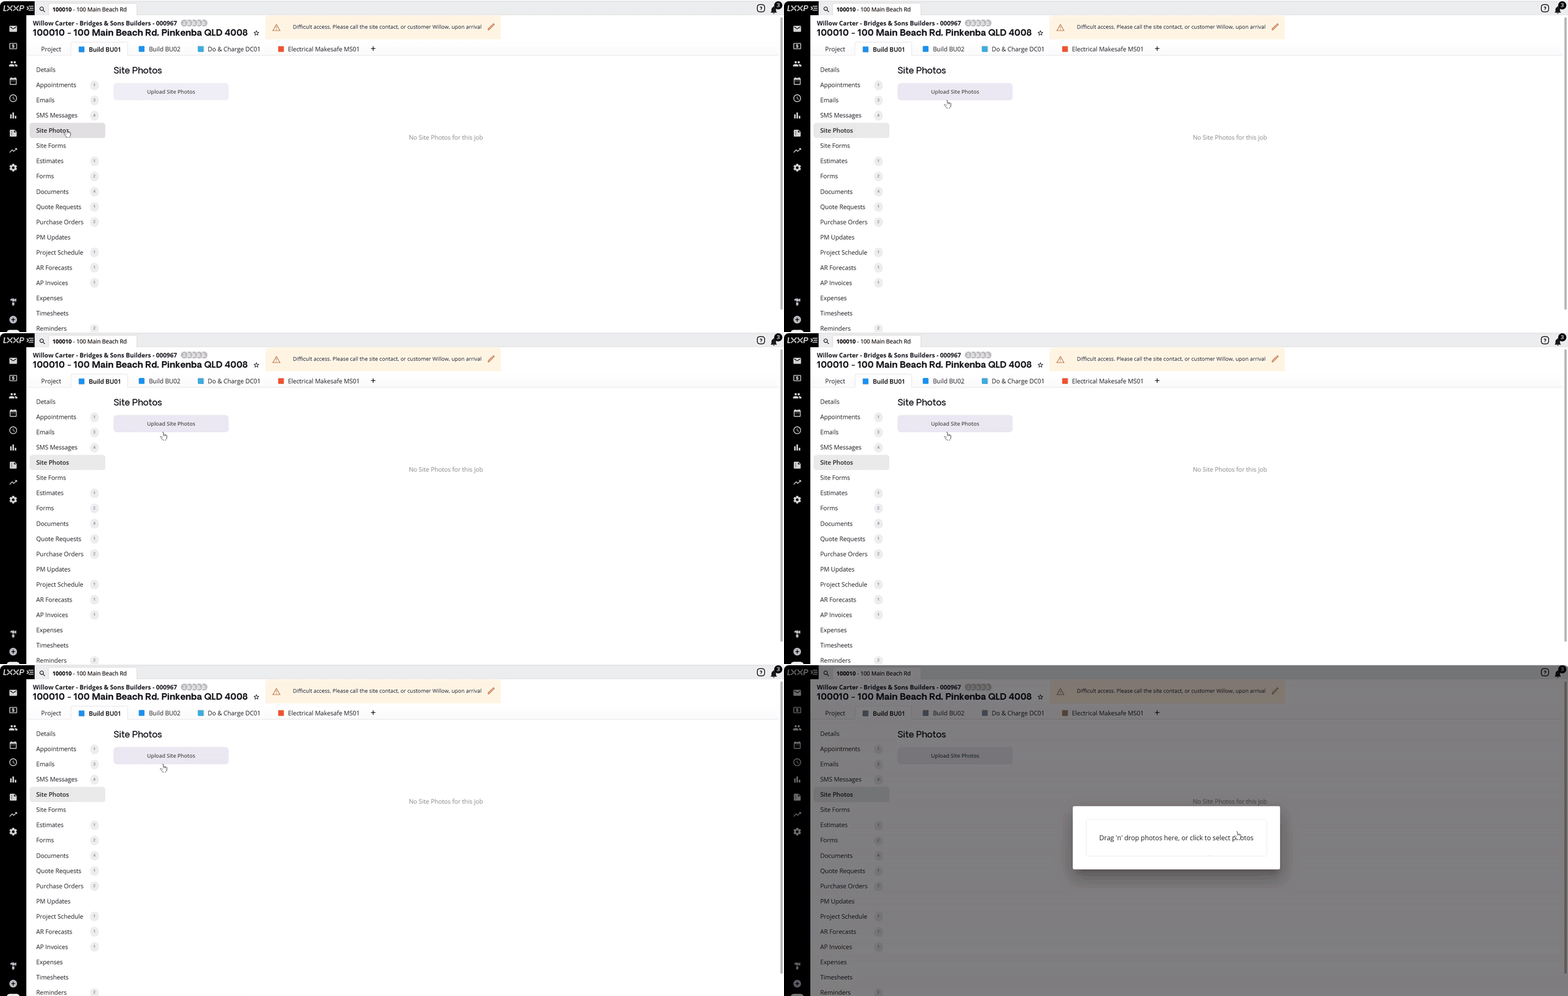
Click Upload Site Photos.
-
Drag and drop your files, or click to browse.
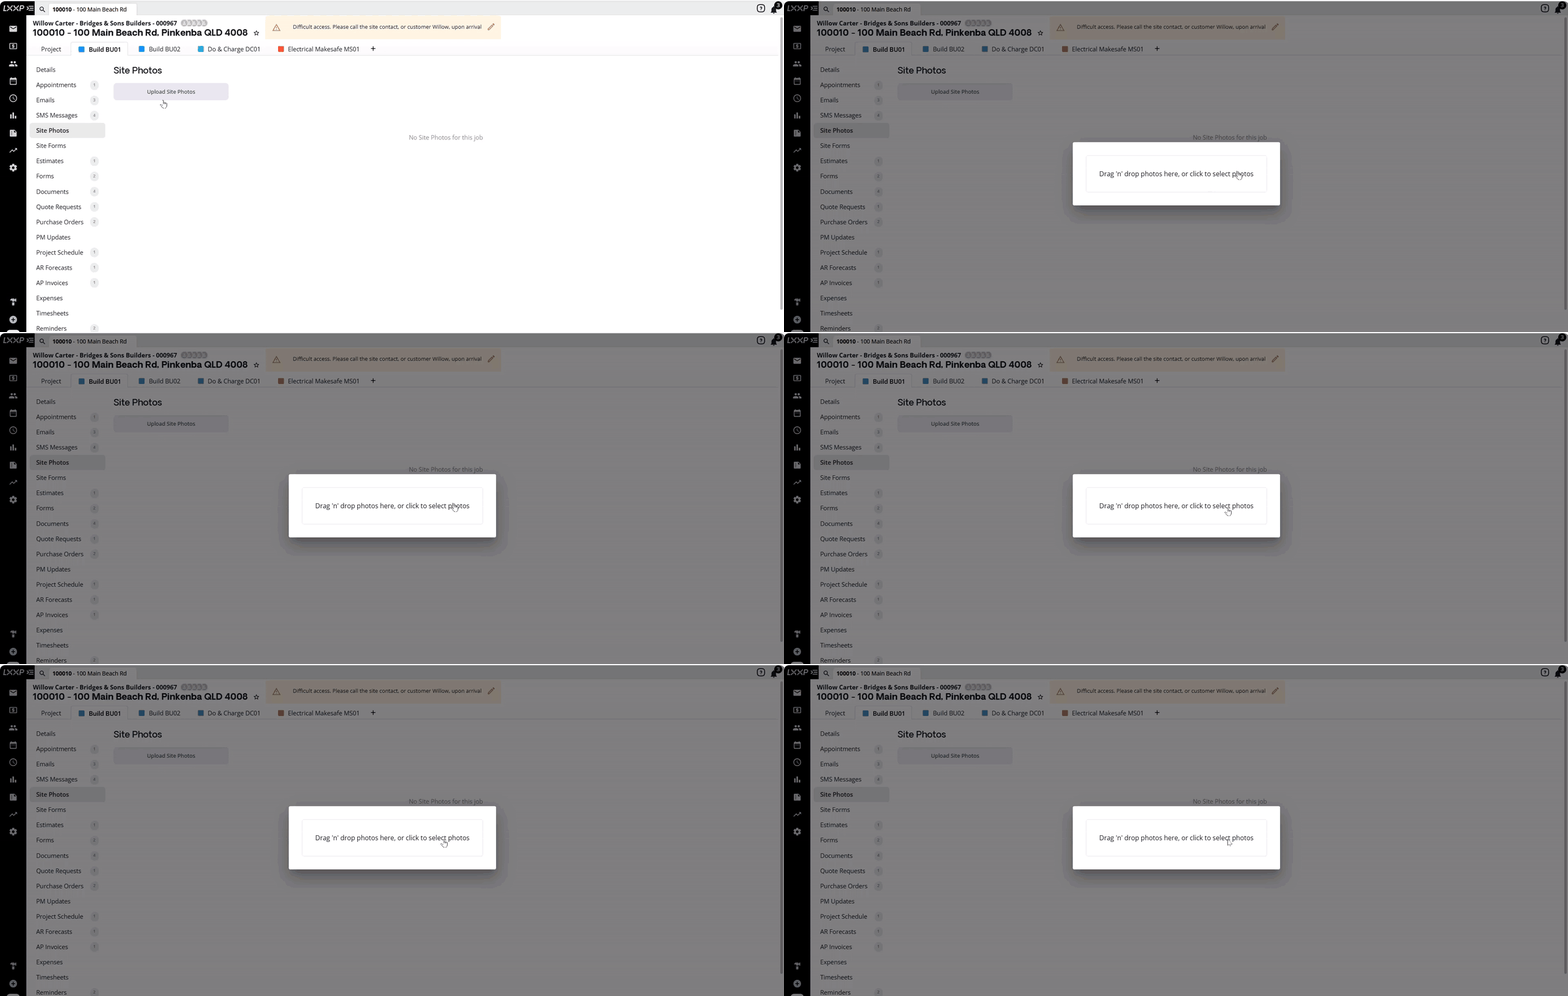
- Select the site photos you want to upload, then click Open to upload them.

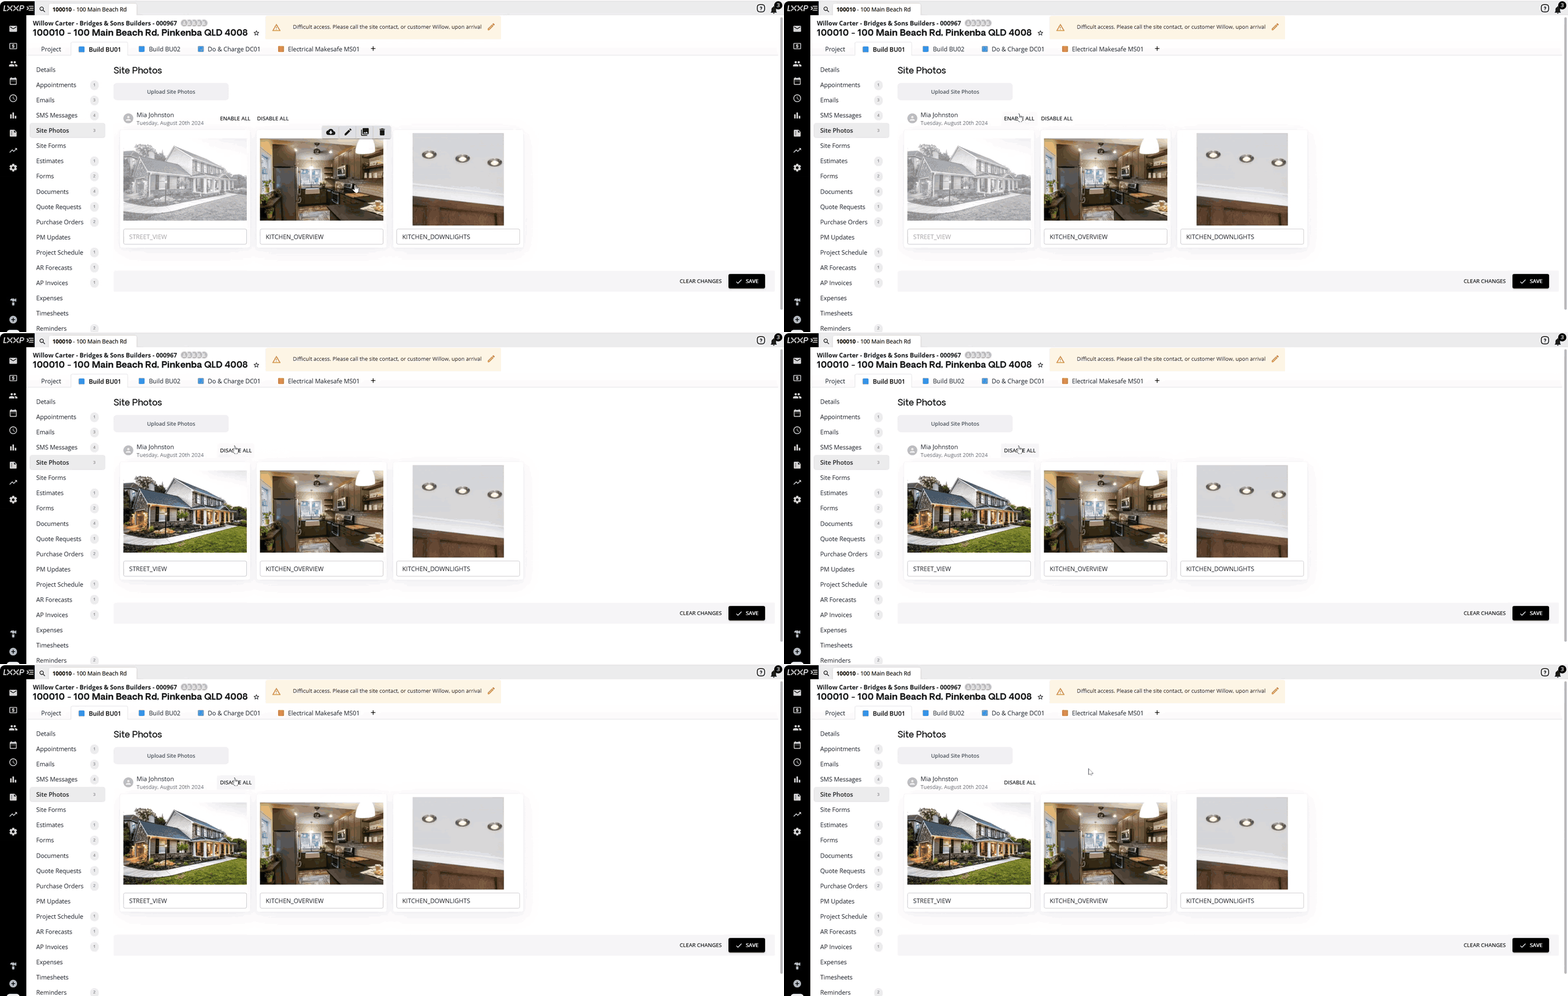
👉The uploaded photos appear under the date they were taken (or uploaded from your desktop), along with the name of the user who uploaded them.
Enabling and Labeling Photos
Initially, uploaded photos appear in grayscale. This means they haven't been enabled yet, so they can't be used elsewhere in the system.
-
Enable individual photos for use in reports, or click Enable All to enable them all at once.
-
Label each photo as needed to ensure clear identification.
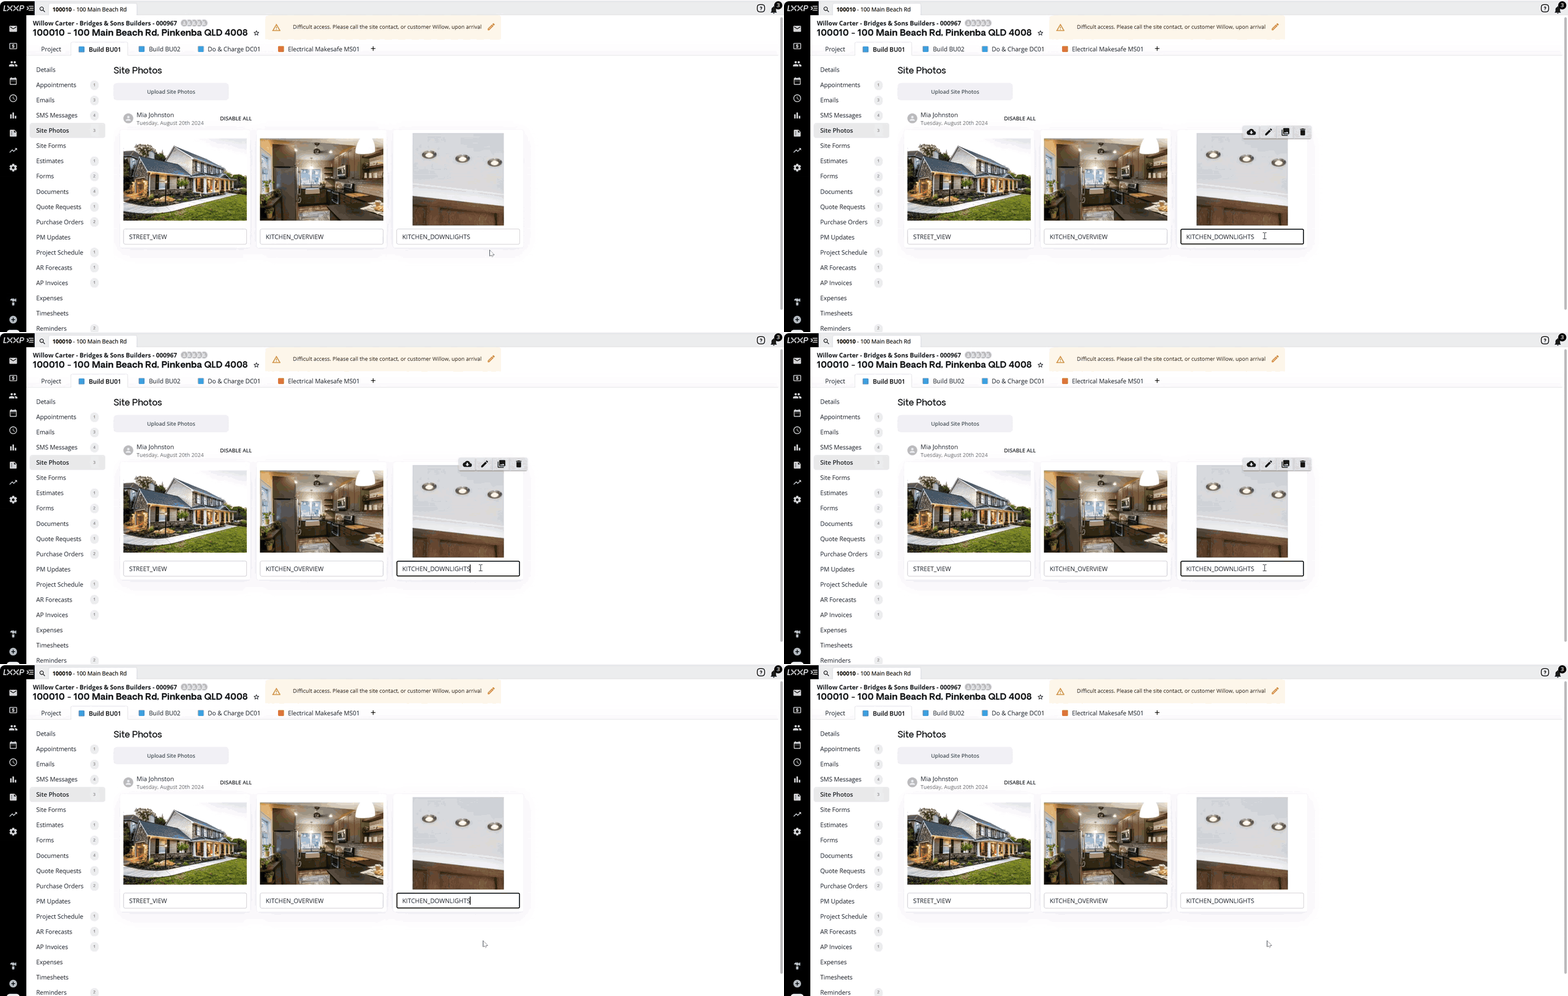
-
Once you've made your changes, click Save.
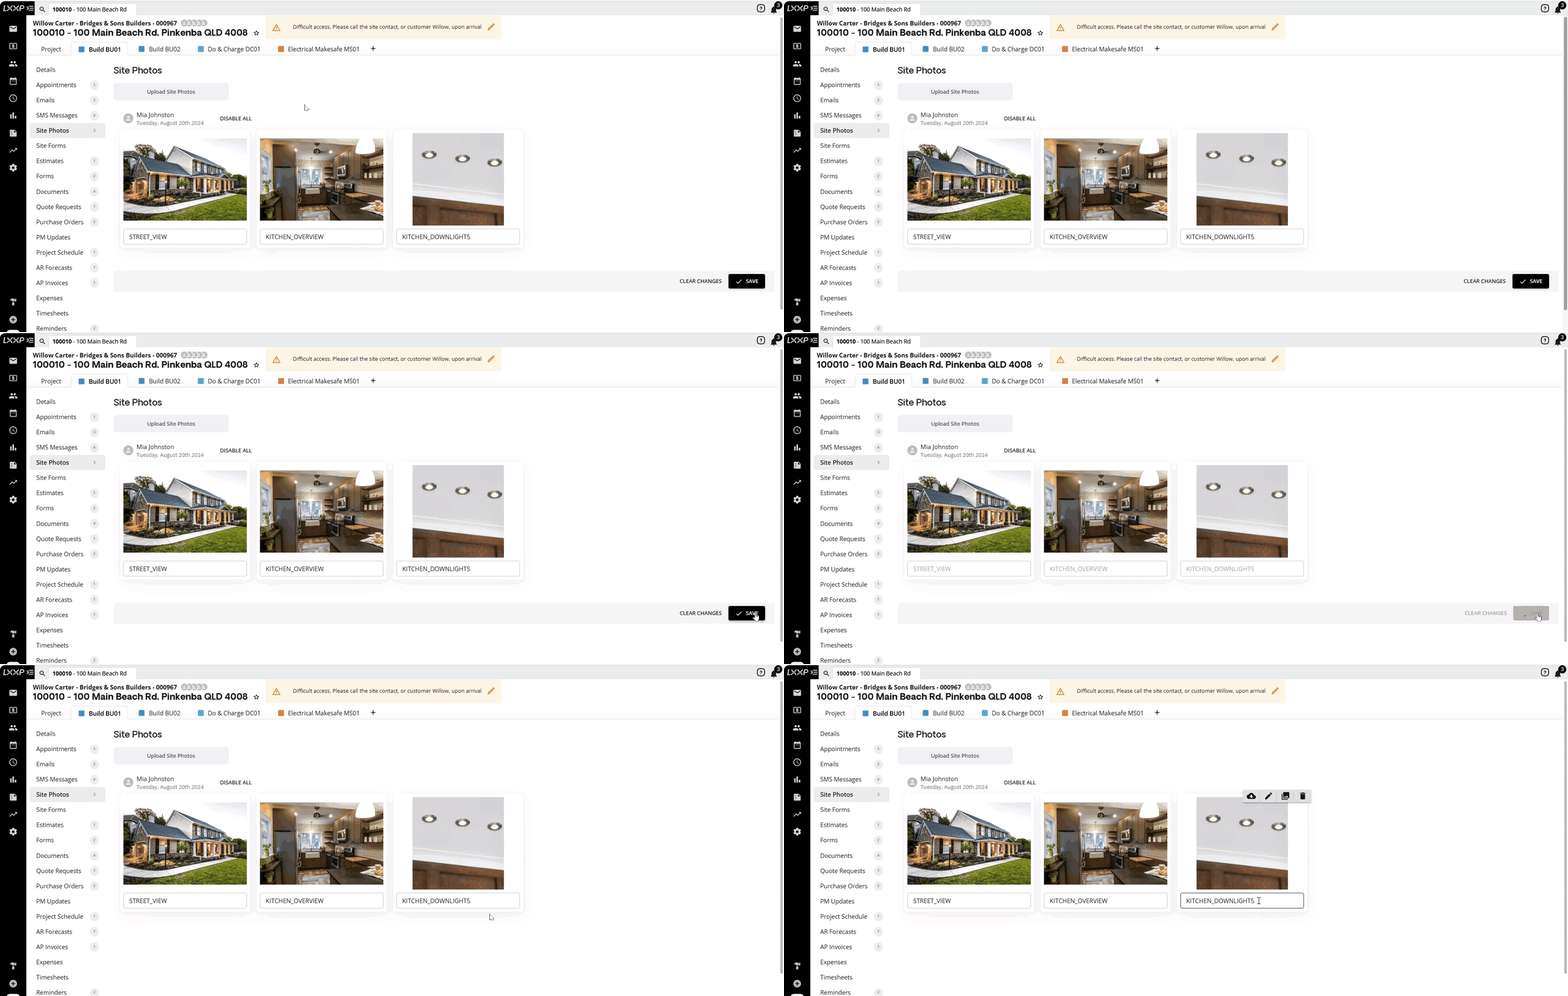
👉 Once photos have been uploaded and enabled, they can be used in various areas within Loop Logics, including reports, purchase orders, and emails.
FAQ
Why do my uploaded photos appear in grayscale? Grayscale means the photo hasn't been enabled yet, so it can't be used elsewhere in Loop. Enable it individually or use Enable All, then click Save.
Can I rename a photo after uploading it? Yes, each photo has an editable name field where you can label it for clear identification.
Where can enabled site photos be used? Once enabled, photos can be used in reports, purchase orders, and emails.
Do I need to upload photos separately if they're attached to a purchase order or site form? No, photos uploaded through purchase orders and site forms are automatically added under Site Photos as well.
❓ Need Help
If you have questions or need assistance, use the chat box in the bottom-right corner to contact the Loop Logics support team or email support@looplogics.com